Traditional English muffins are small yeast breads; flattish circles with a gritty surface, torn apart rather than cut and usually toasted. But perhaps they should be Traditional American muffins – not English muffins.
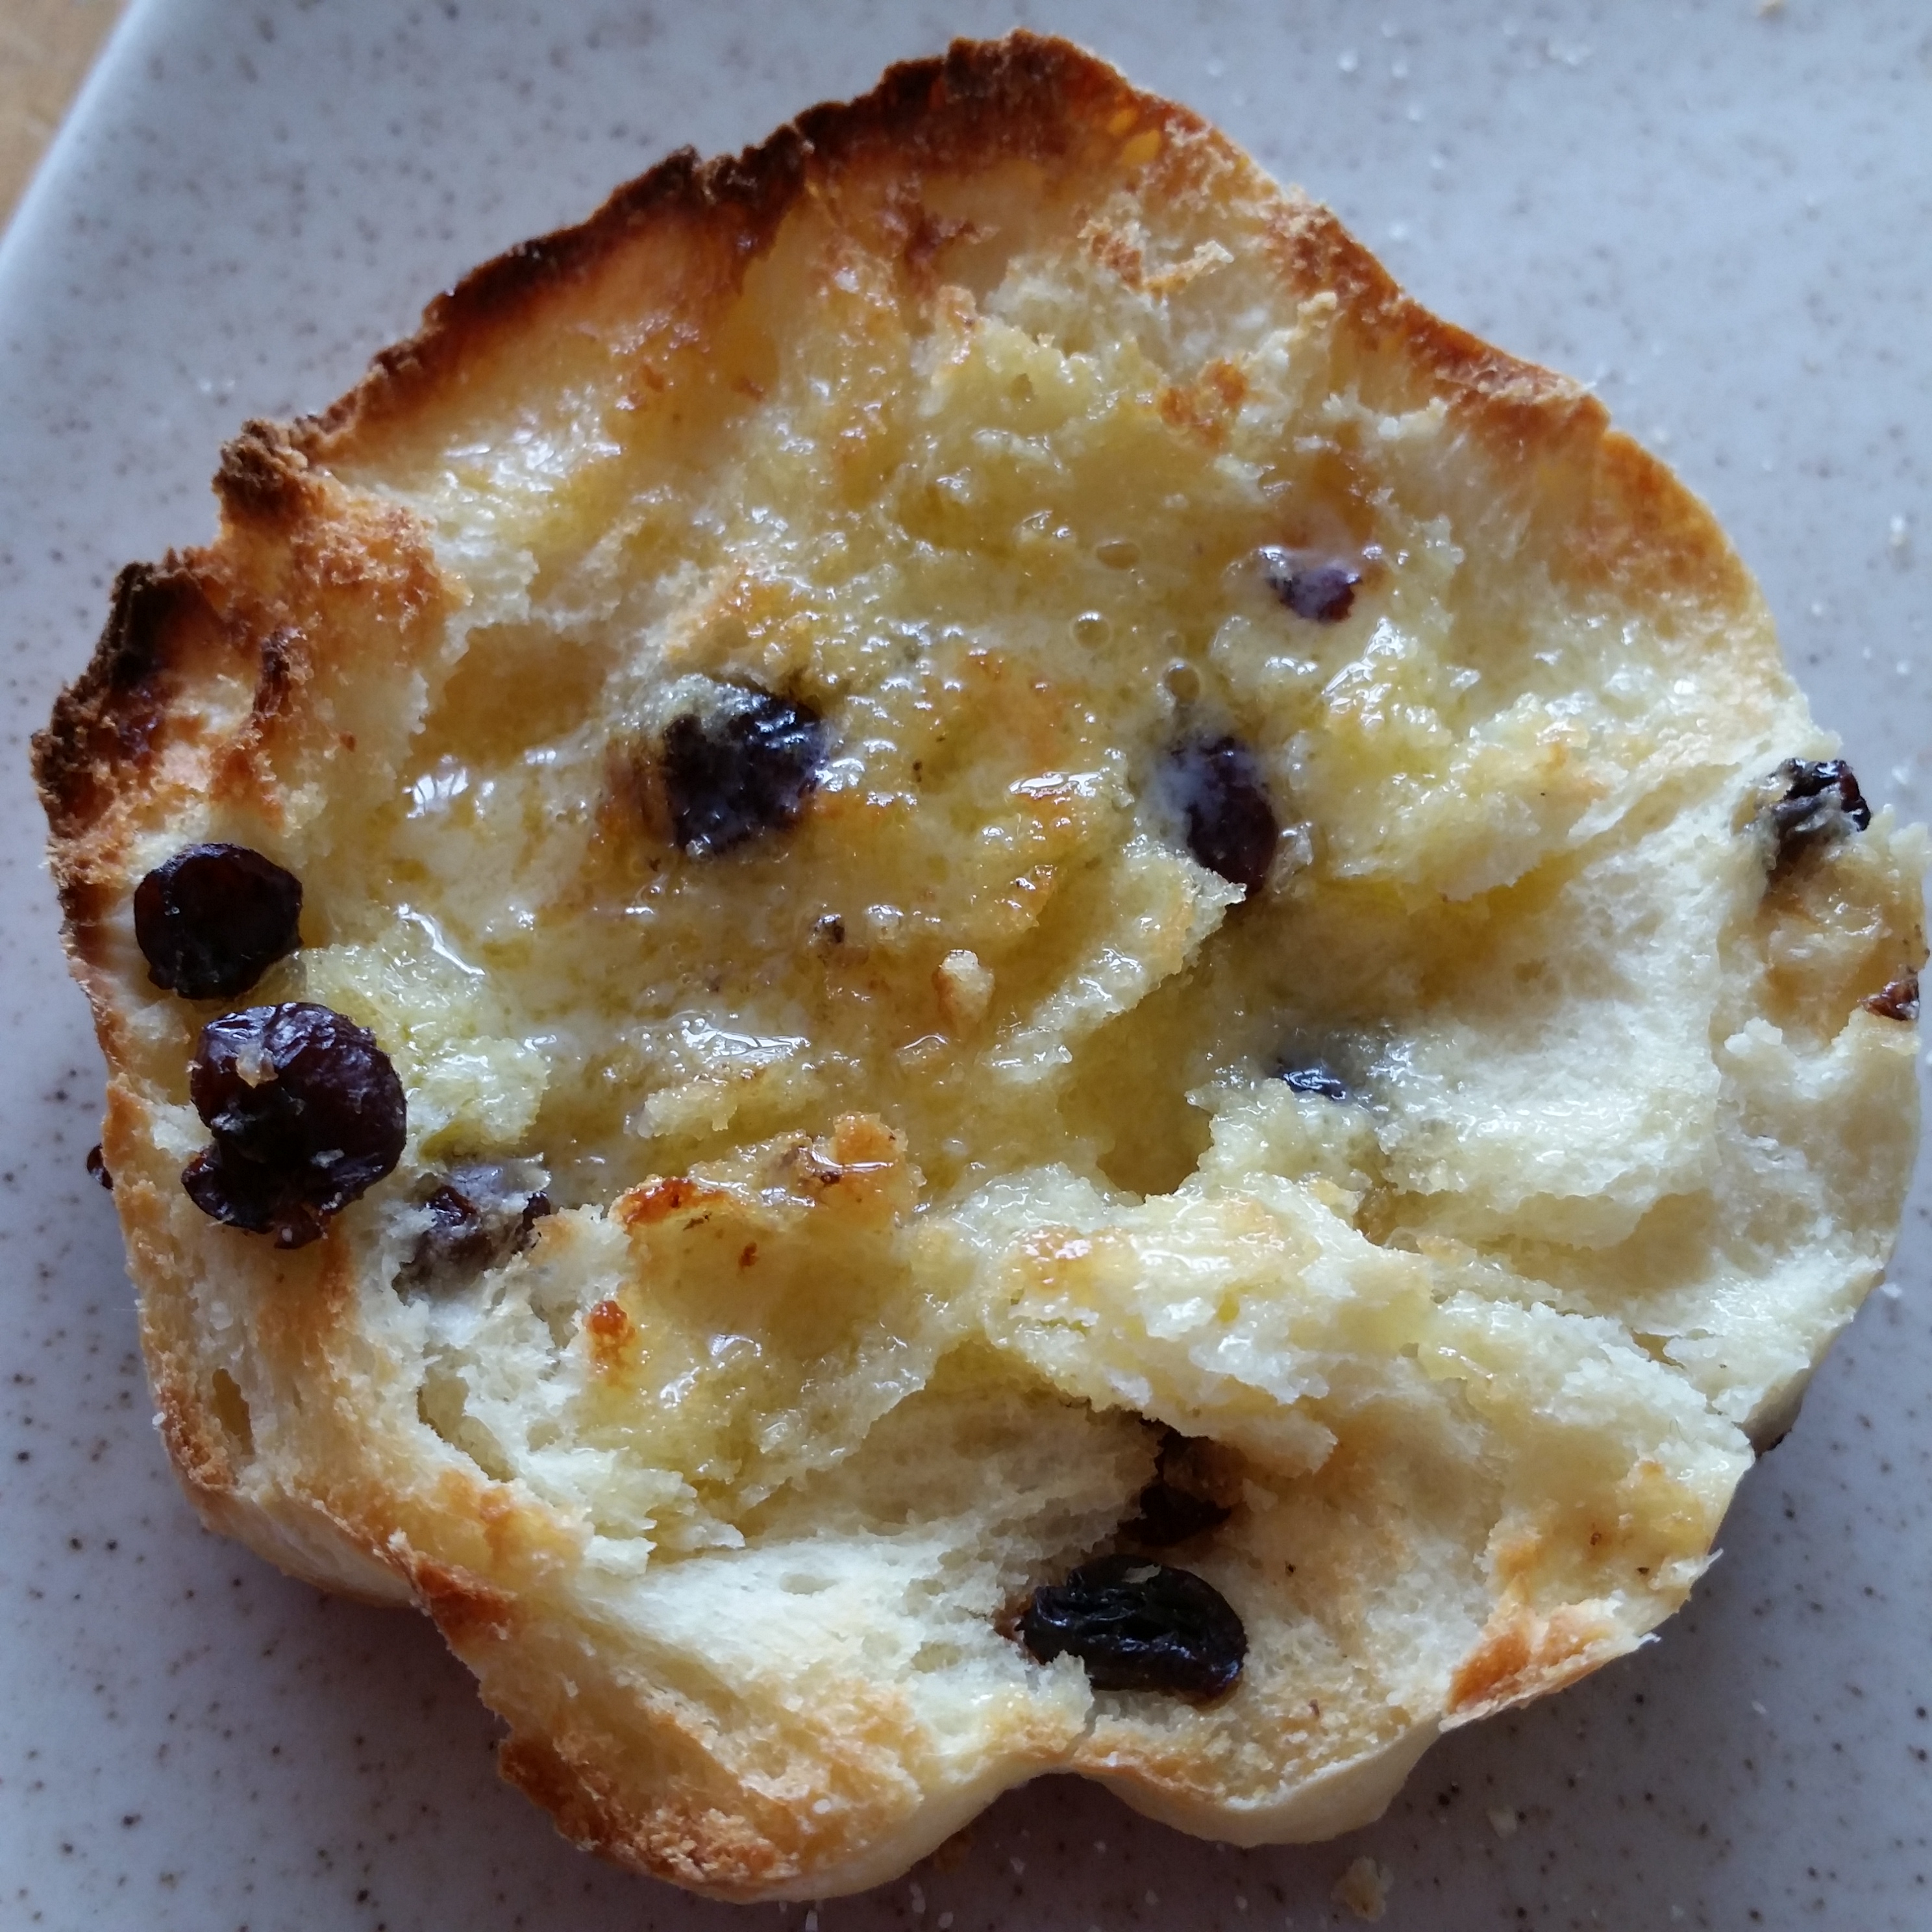
To tear apart it’s best to first cut a small slit with a knife then use your fingers to gently tear in half. That rough surface makes craters for butter to soak in.
It’s true muffins were adapted from the United Kingdom griddle-baked breads like the crumpet and bannock, but the English muffin we recognise today was first made in the USA and exported back to Britain.
This mix makes plenty of muffins in one hit and some can be frozen for another day.
In my August posting Moofins – Nana’s Bran Muffins, I revealed today’s cake-like muffins were adapted from the original yeasted muffin cooked on the stove top. This sparked my interest to make a home made version of the Traditional English muffin and coincided with finding”The Bread Bible” by American bread baker Beth Hensperger in a second hand bookshop. I now had a good recipe to follow…
Traditional English Muffins
(Makes 12 -15, 9-10 cm or 3-4 inch muffins)
¼ cup warm water
1 tbsp active dry yeast
2 tsp of sugar (if using kefir – 1tsp if using milk)
4-4½ cups of high grade flour
2 tsp salt
1 large egg at room temperature
1¼ cups warm milk*
2 tbsp butter melted
½ cup currants (optional)
¼ cup of semolina or cornmeal for sprinkling when rolling out
*for those of you who are fermenters producing milk kefir, I replaced 1 cup of the milk with kefir just until warm and the butter melts. The idea of heating is to ensure the environment is warm for the yeast to activate quickly.
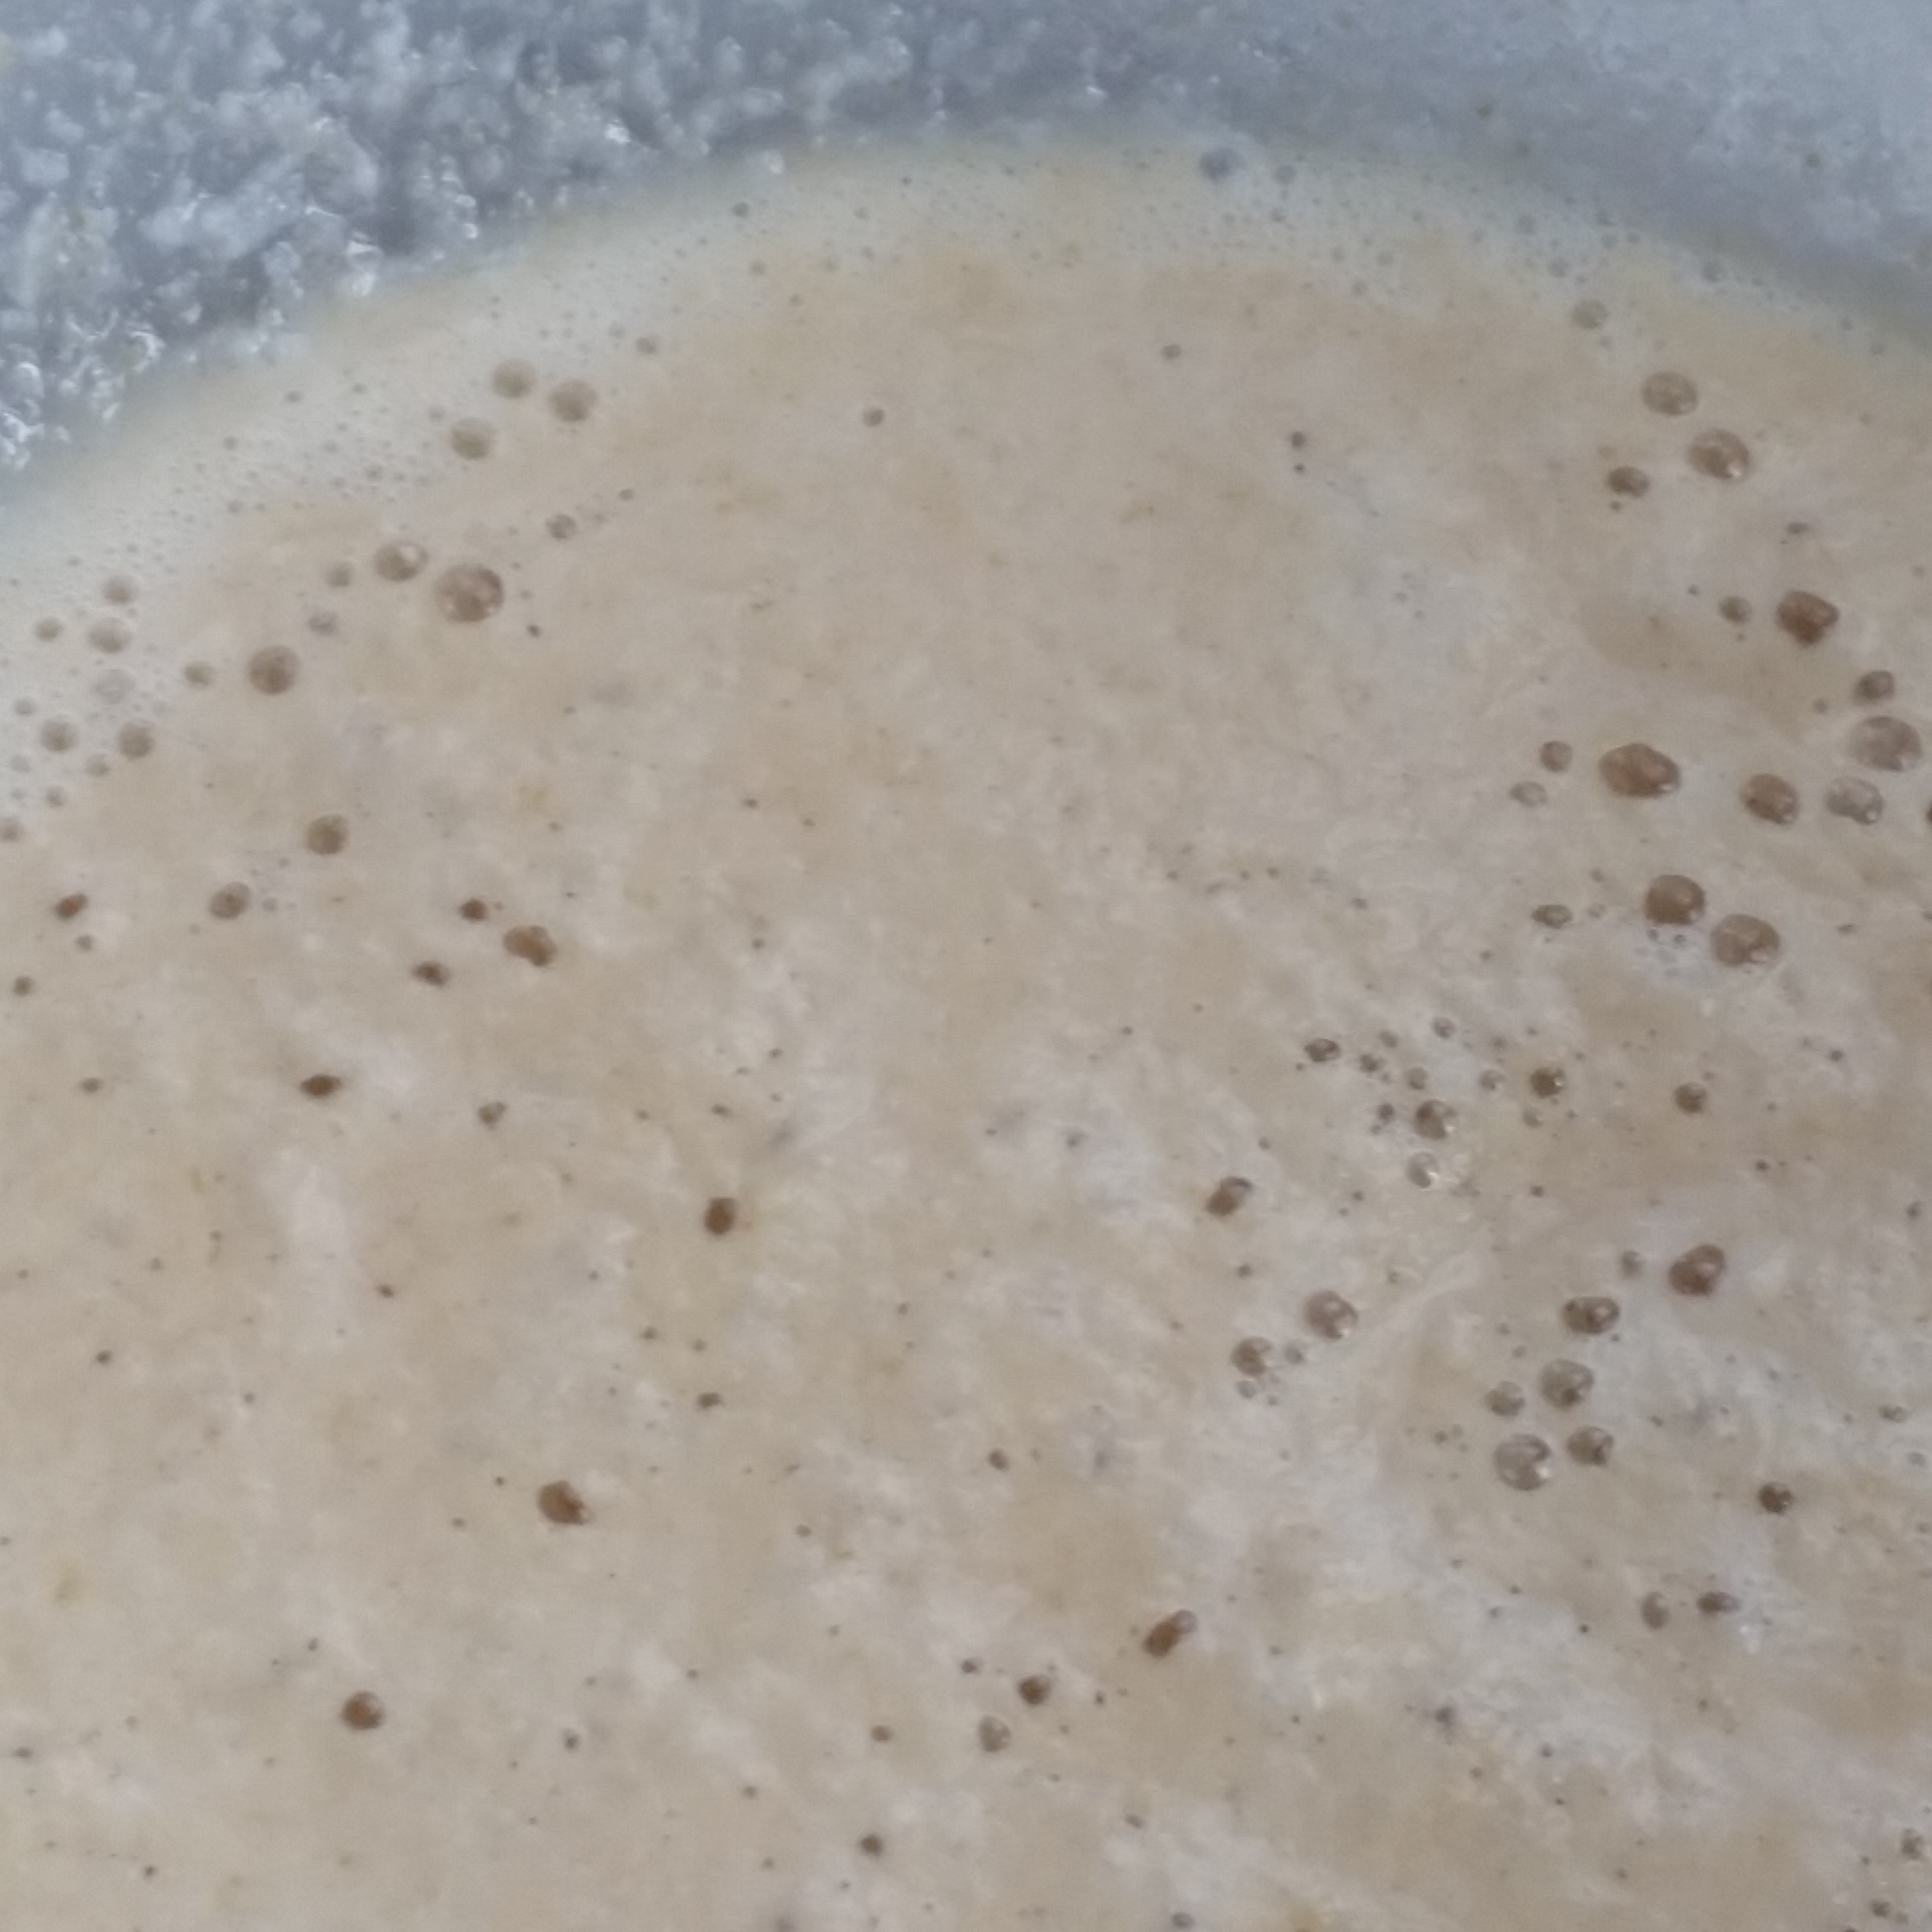
Pour the warm water into a large bowl. Sprinkle the yeast on top with sugar, stir and leave in a warm place until bubbles appear – about 10 minutes.
Get the yeast to start to react before adding flour. You can see the small bubbles appearing on the surface and this indicates activity.
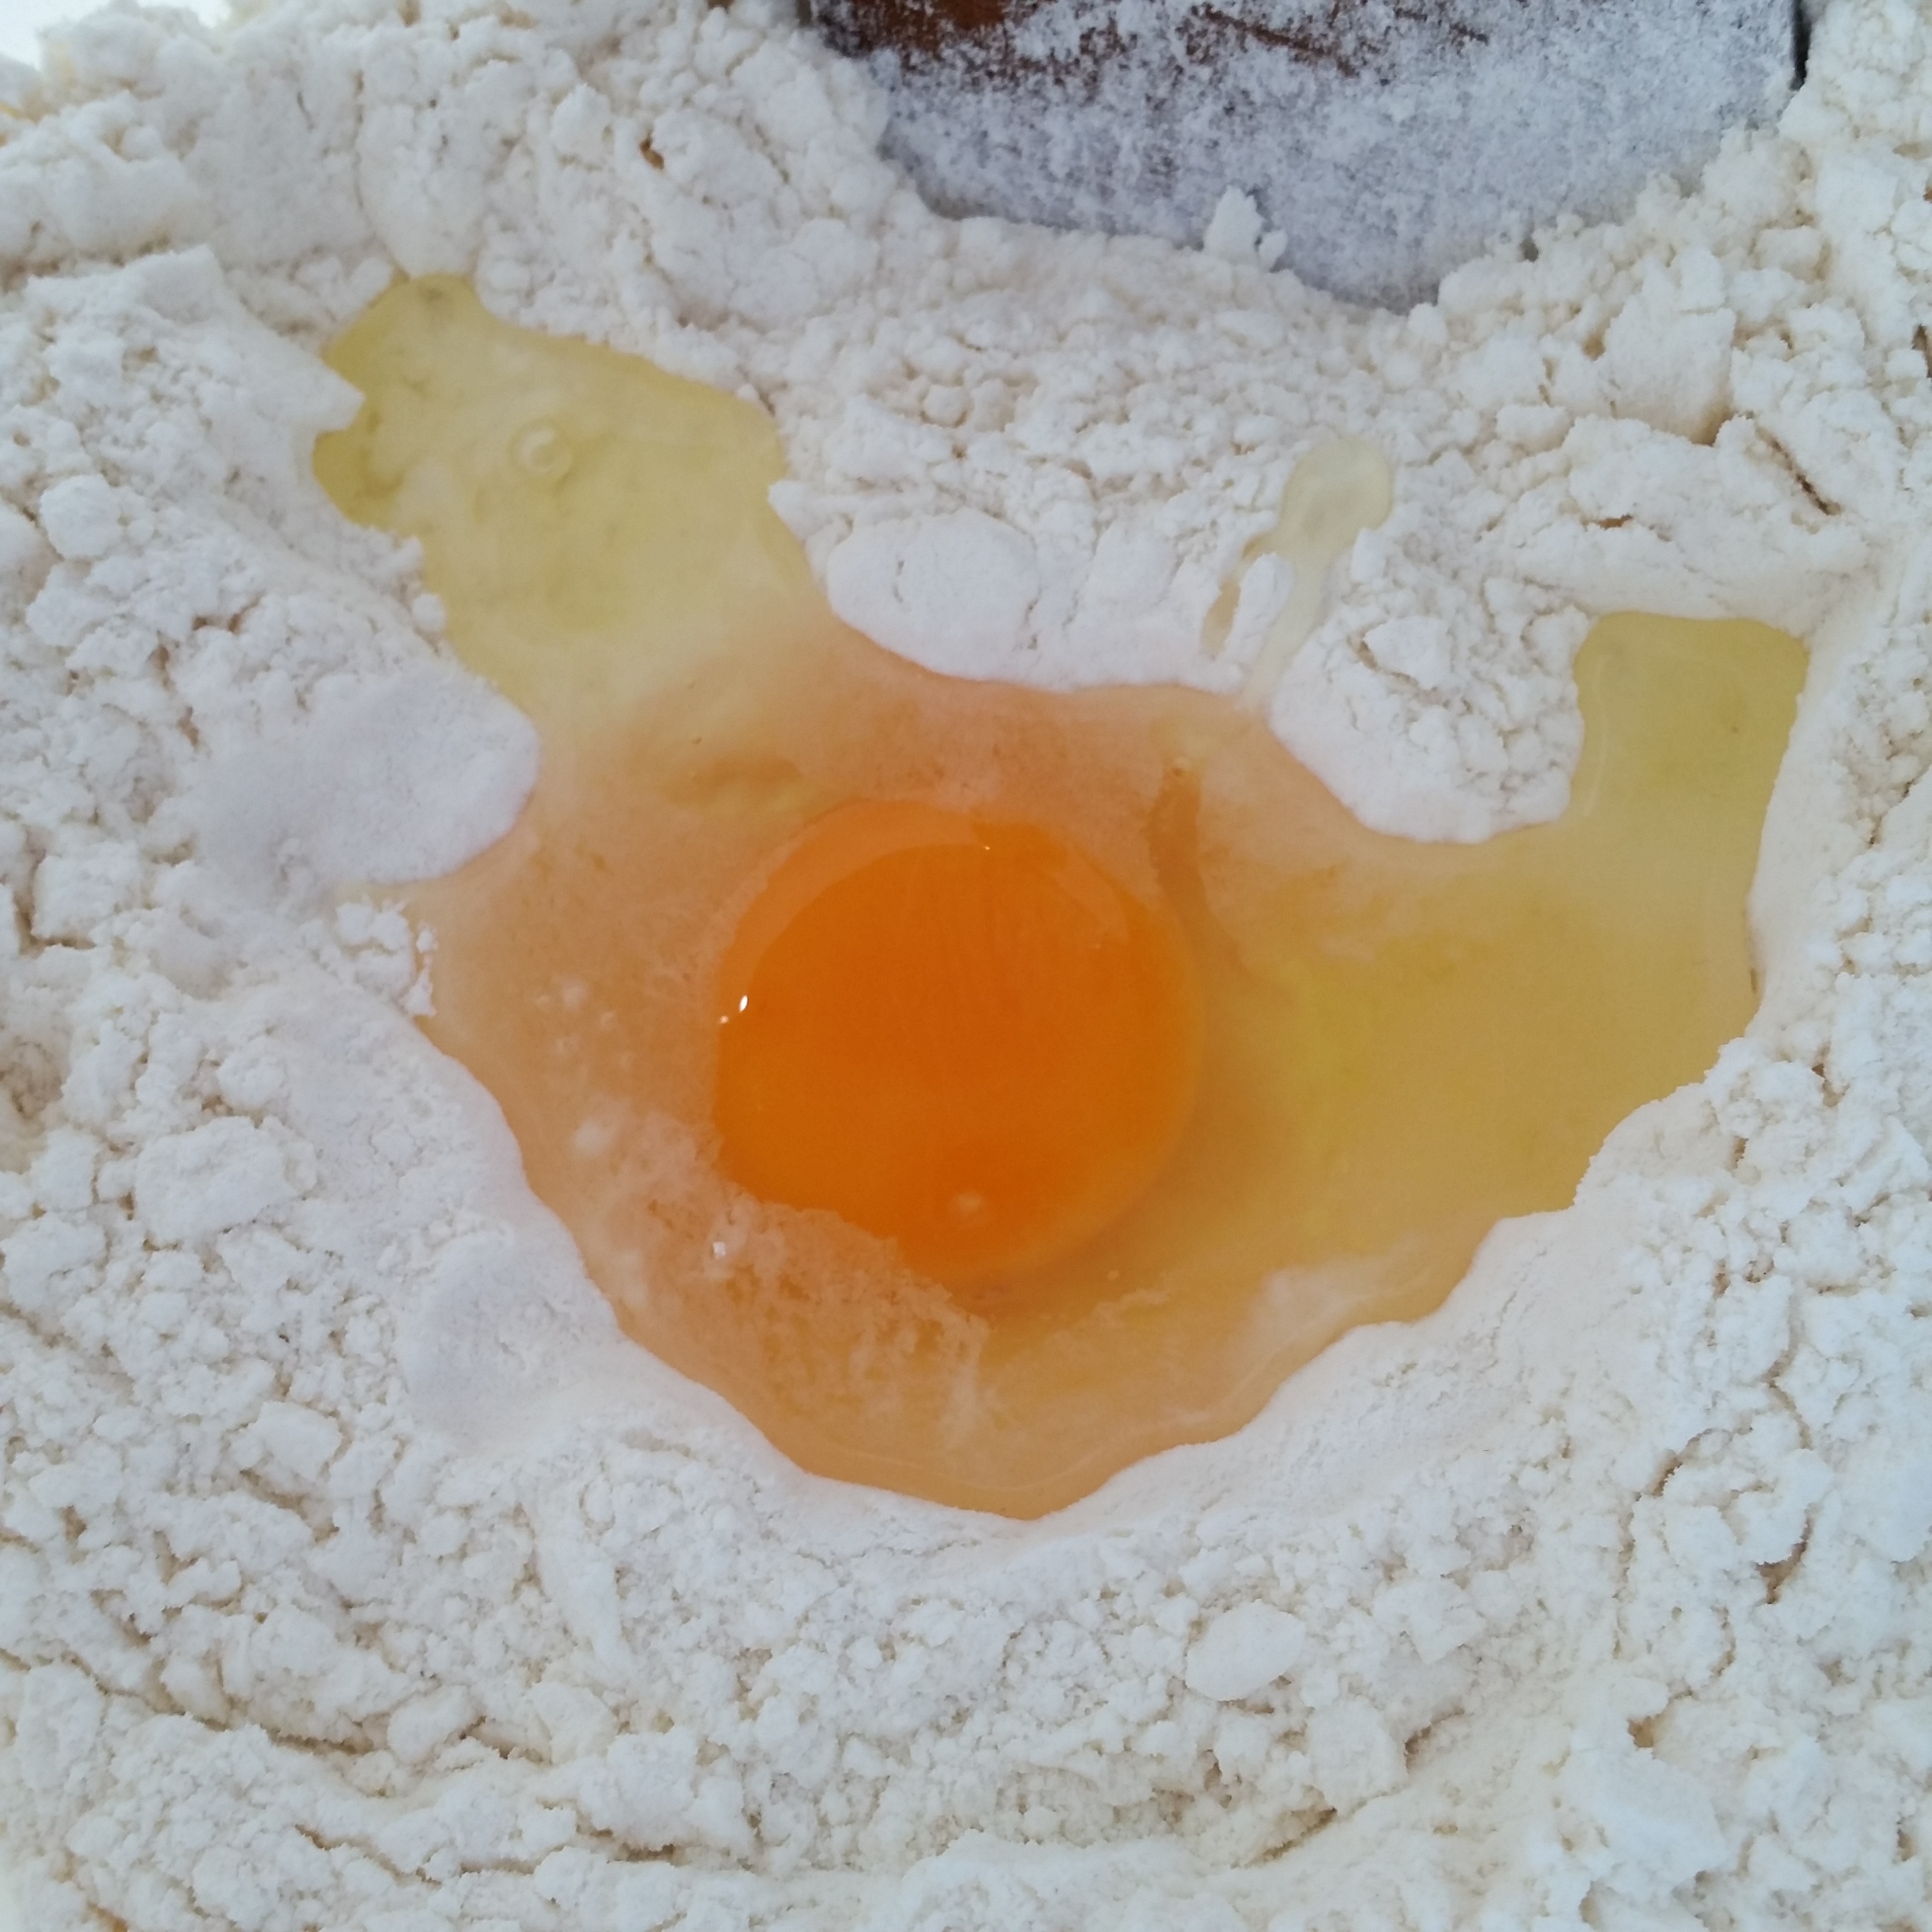
Into the yeast break in the egg, add milk (or kefir), butter and yeast mixture, stir to mix. Add 2 cups of flour and 2tsp of salt (a cup at a time) and beat until creamy, for about 2 minutes.
Add all the liquid ingredients before mixing.
Beth used a whisk for this first process but I used a wooden spoon. (This part can be processed with a cake mixer).
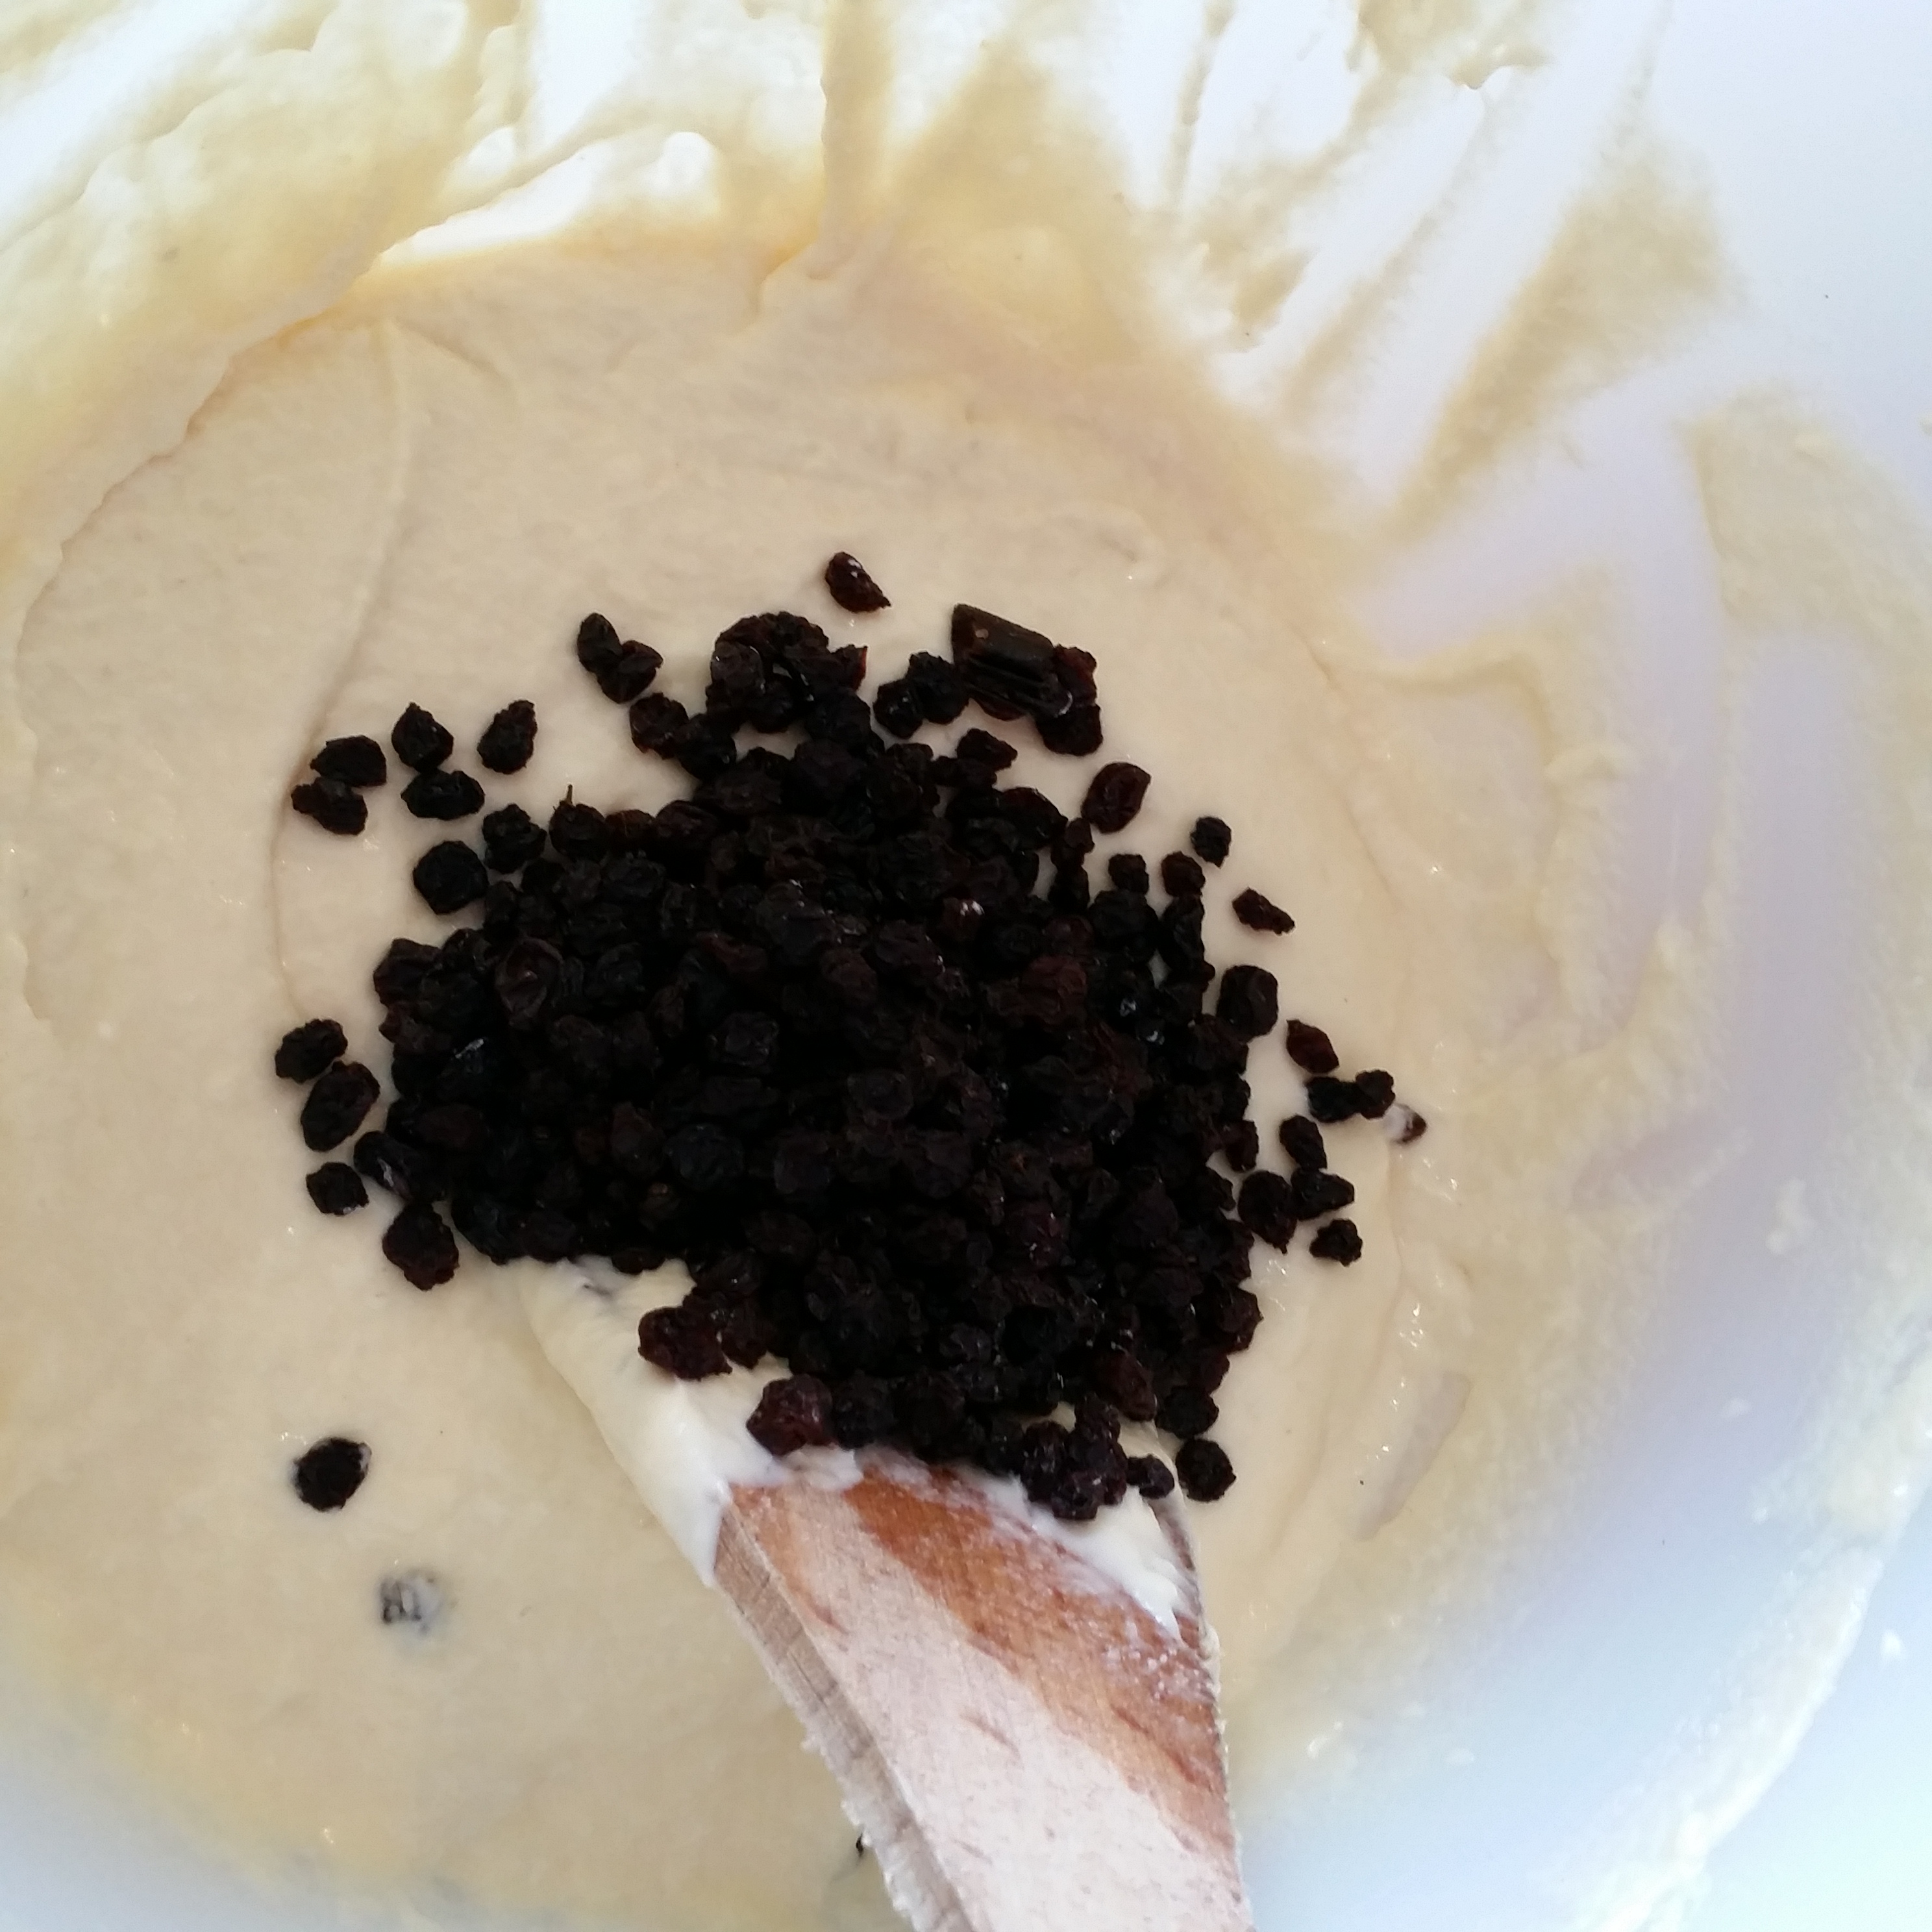
Currants are optional but they are one of my favourite dried fruits as they add a tang as well as a sweet hit. Experiment with other spices too. I thought next time I might use dried barberries that will deliver more tang than sweet.
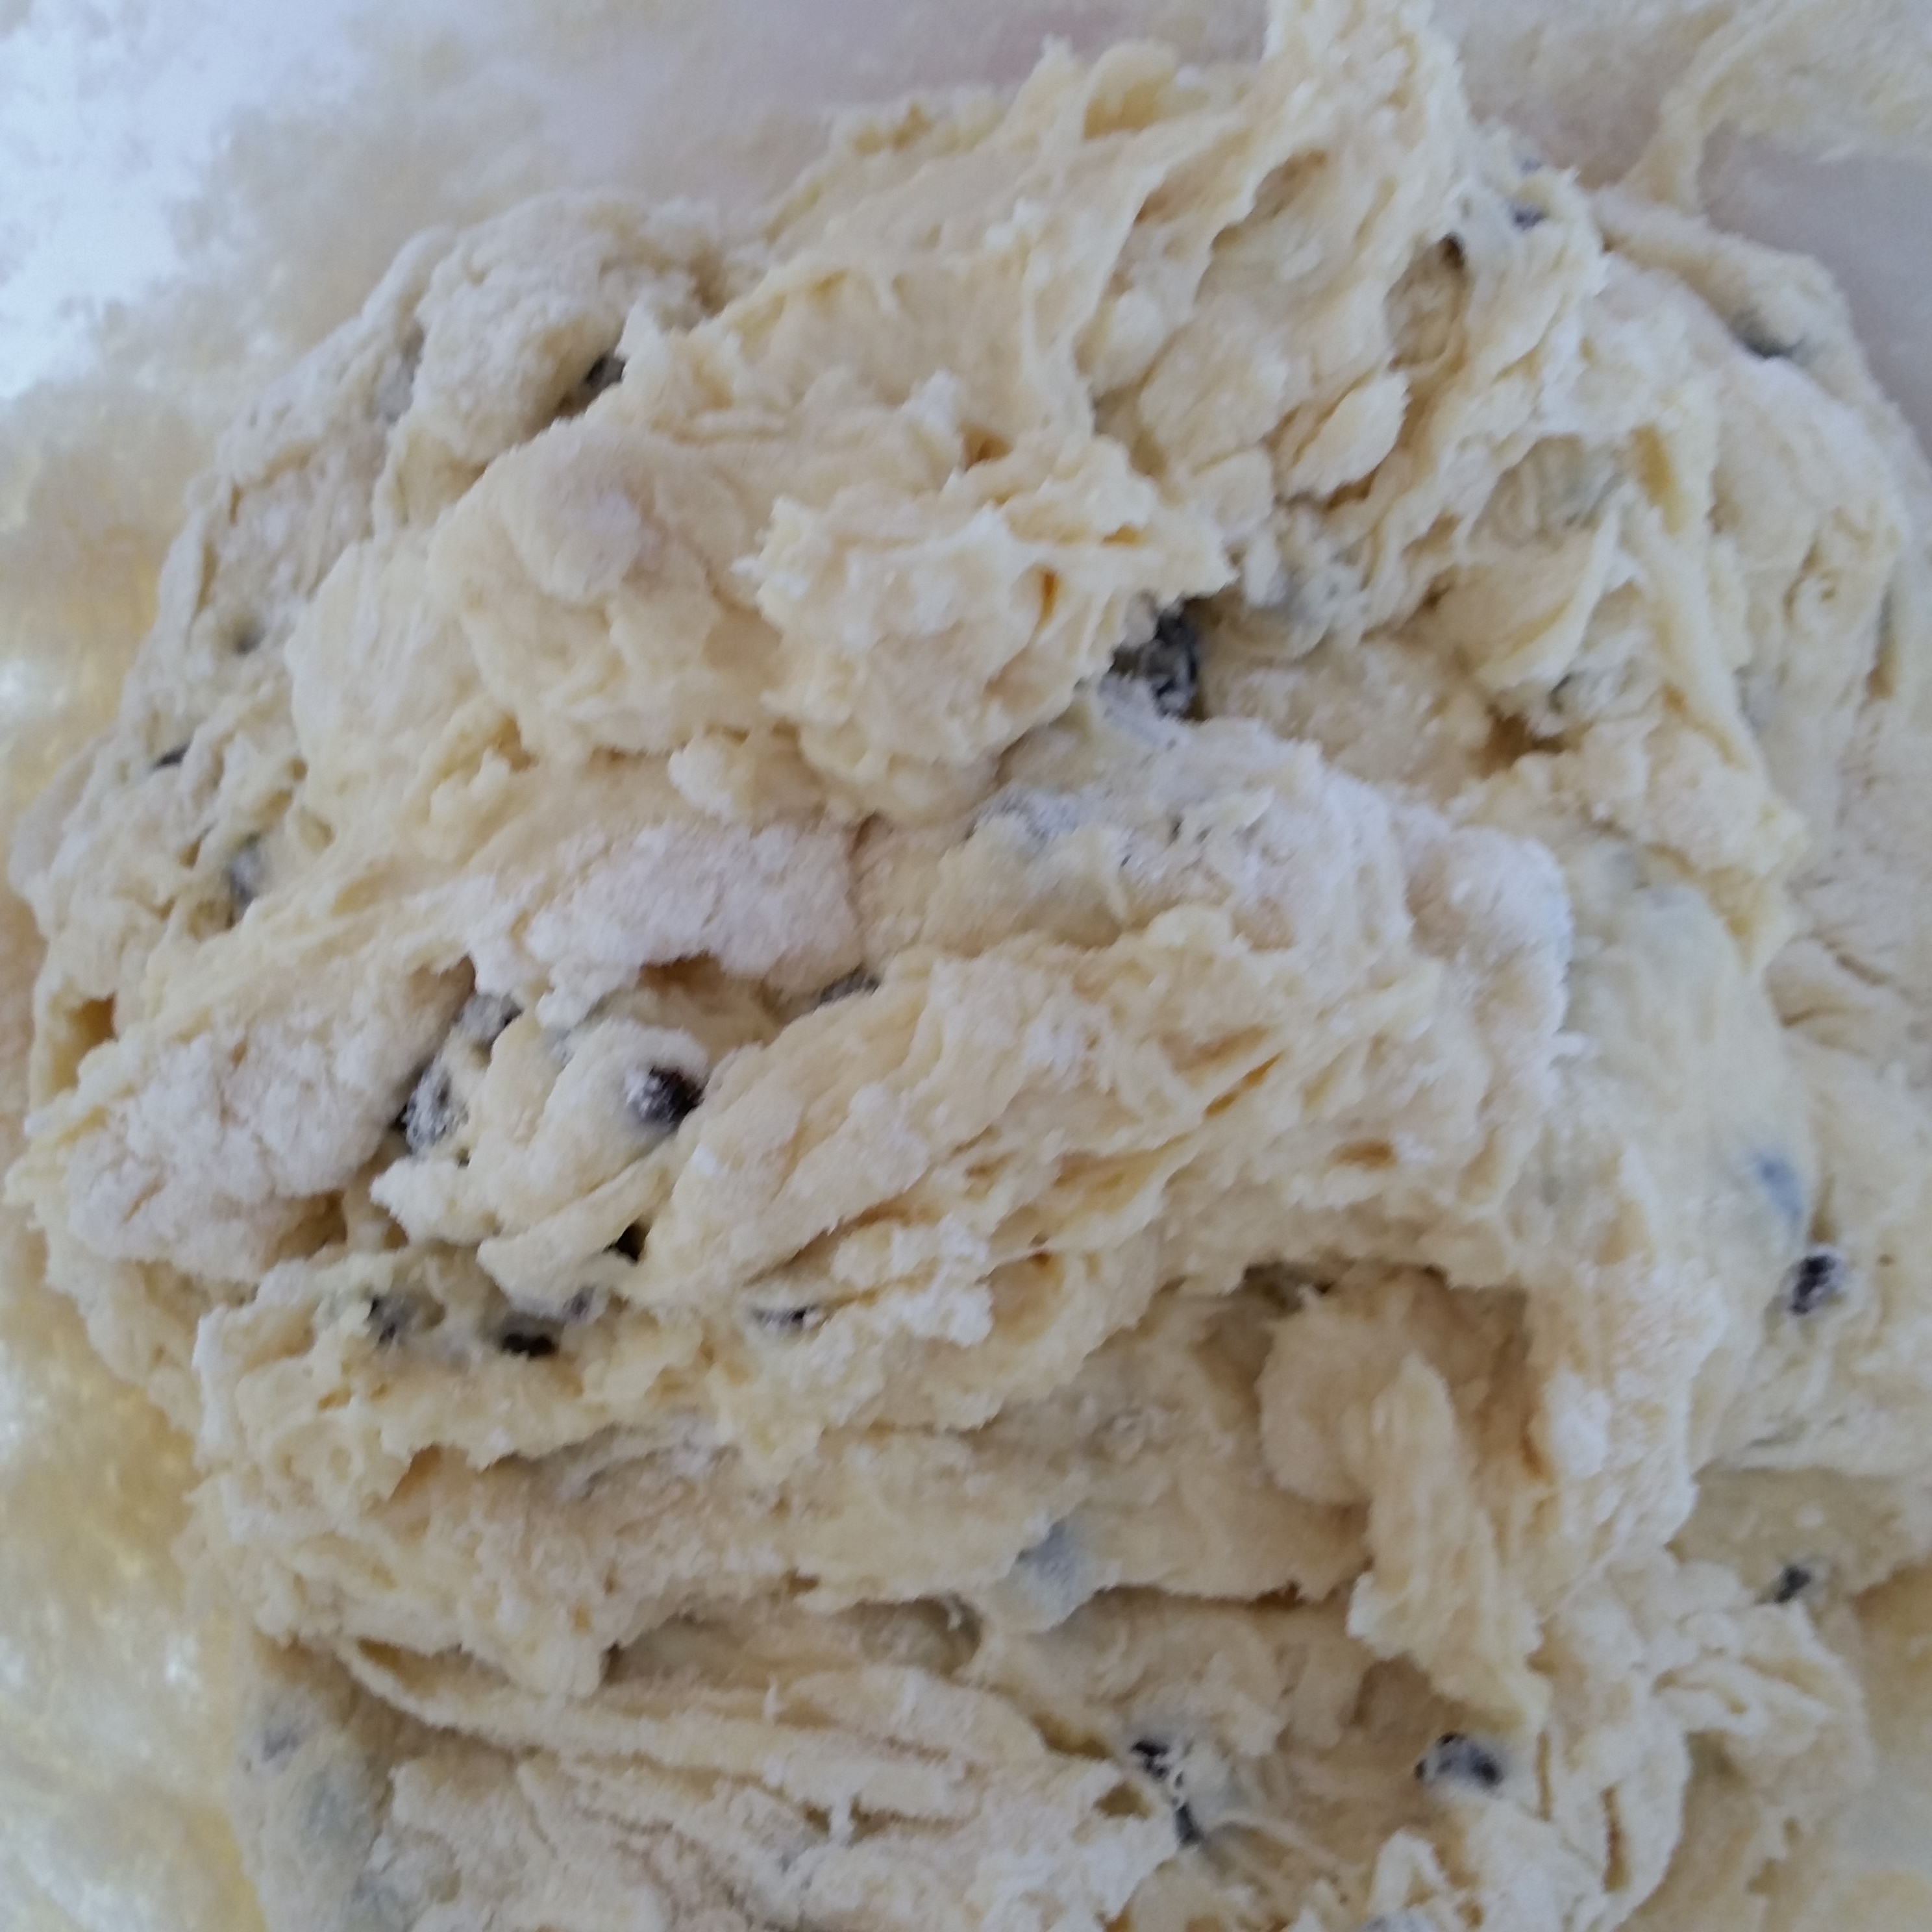
Add the remaining flour, half a cup at a time along with the currants (if using) and mix with a wooden spoon until a soft dough forms and takes all the flour around the sides of the bowl into the dough ball.
The dough will be rather sticky but at this point just add a tablespoon of flour at a time. Remember the softer the dough, the lighter the muffin.
Turn the dough out onto a lightly floured surface and knead until smooth and springy – at least 3 minutes and its best to knead any bread for 10 minutes. Keep adding the flour to stop the dough from being too sticky to handle, but the mix should still be nice and soft so just add just enough flour…the end dough should have some spring back. (If using a cake mixer switch to a dough attachment to knead for 10 minutes making sure the dough springs back when pressed – you can add flour as it mixes to get the right consistency. )
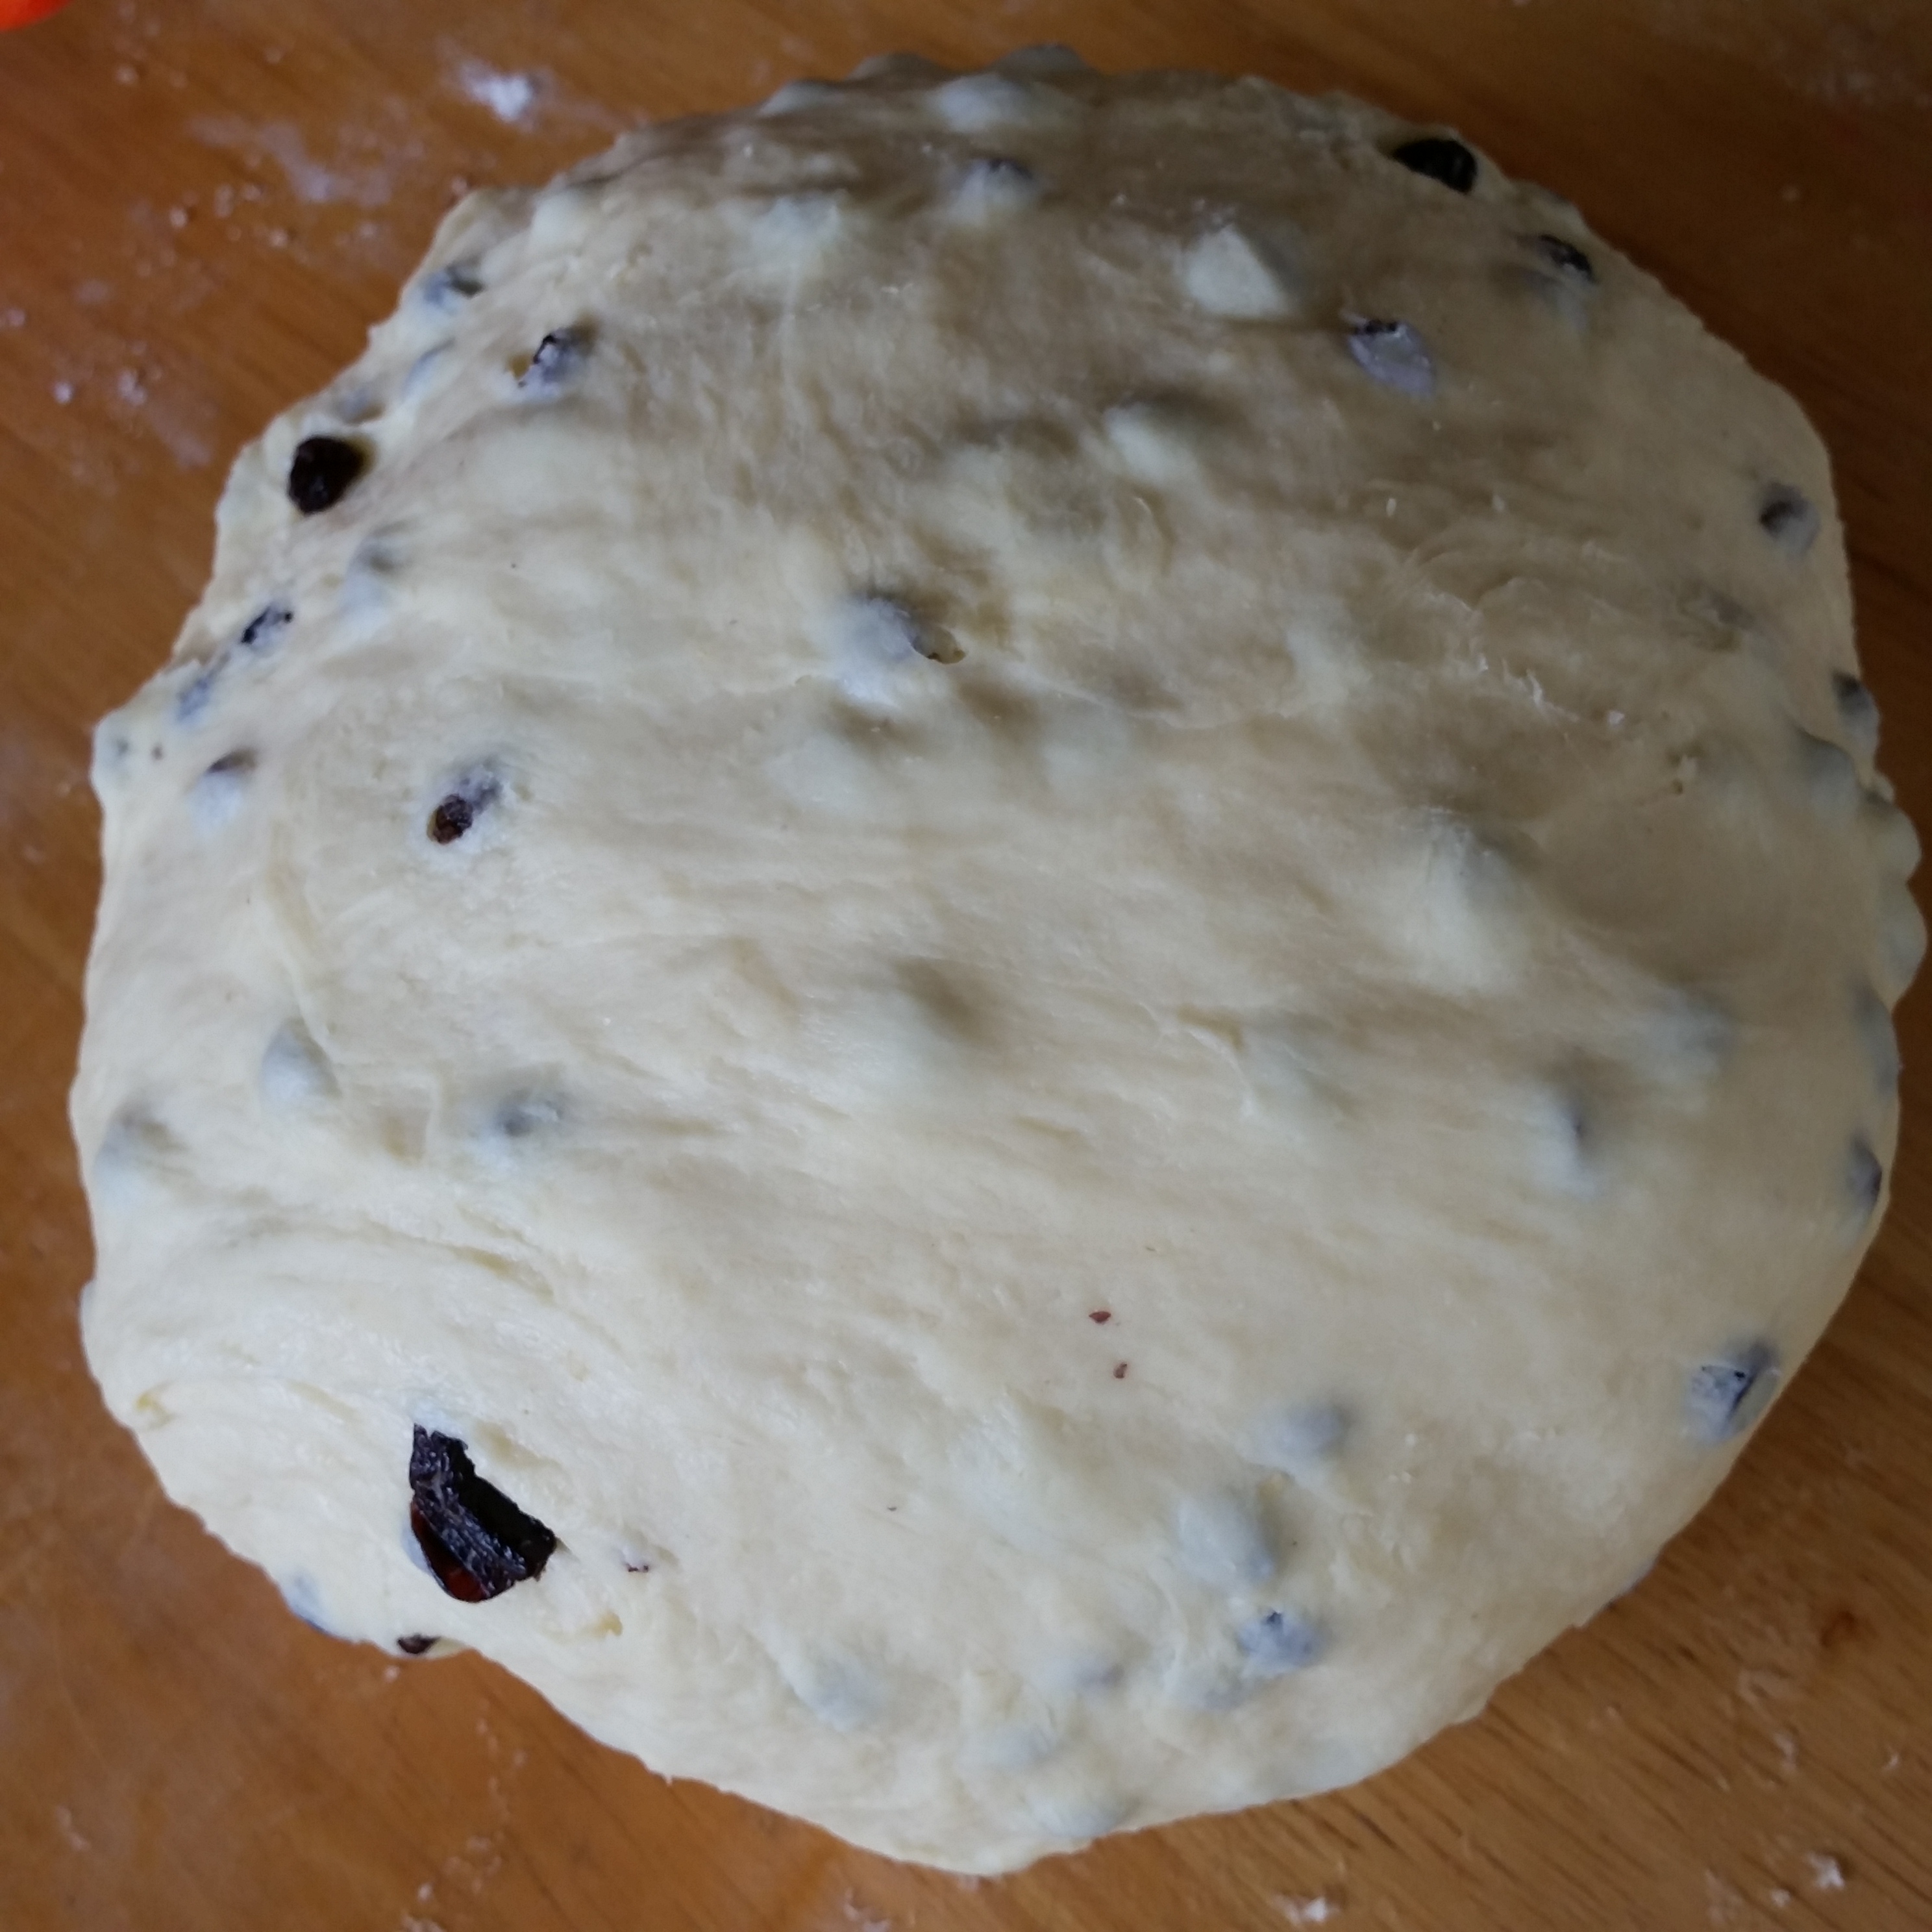
When a dough has been kneaded enough it has a silken appearance.
Wash clean the bowl and add some oil in the base. Turn the dough once over to cover with oil and cover the bowl with a plate for a tea towel and place in a warm spot for the dough to double in size. This may take 1½ hours.
You can see here the work the yeast has done rising the dough – before and after shot.
Once the dough has risen, first step is to preheat an electric frypan or the oven with a pizza stone to 180°C. If you want to be authentic then heat a griddle or cast iron pan on the stove top to a medium heat. The pan will be hot enough when you land a drop of water in the pan and it sizzles and dances across the surface.
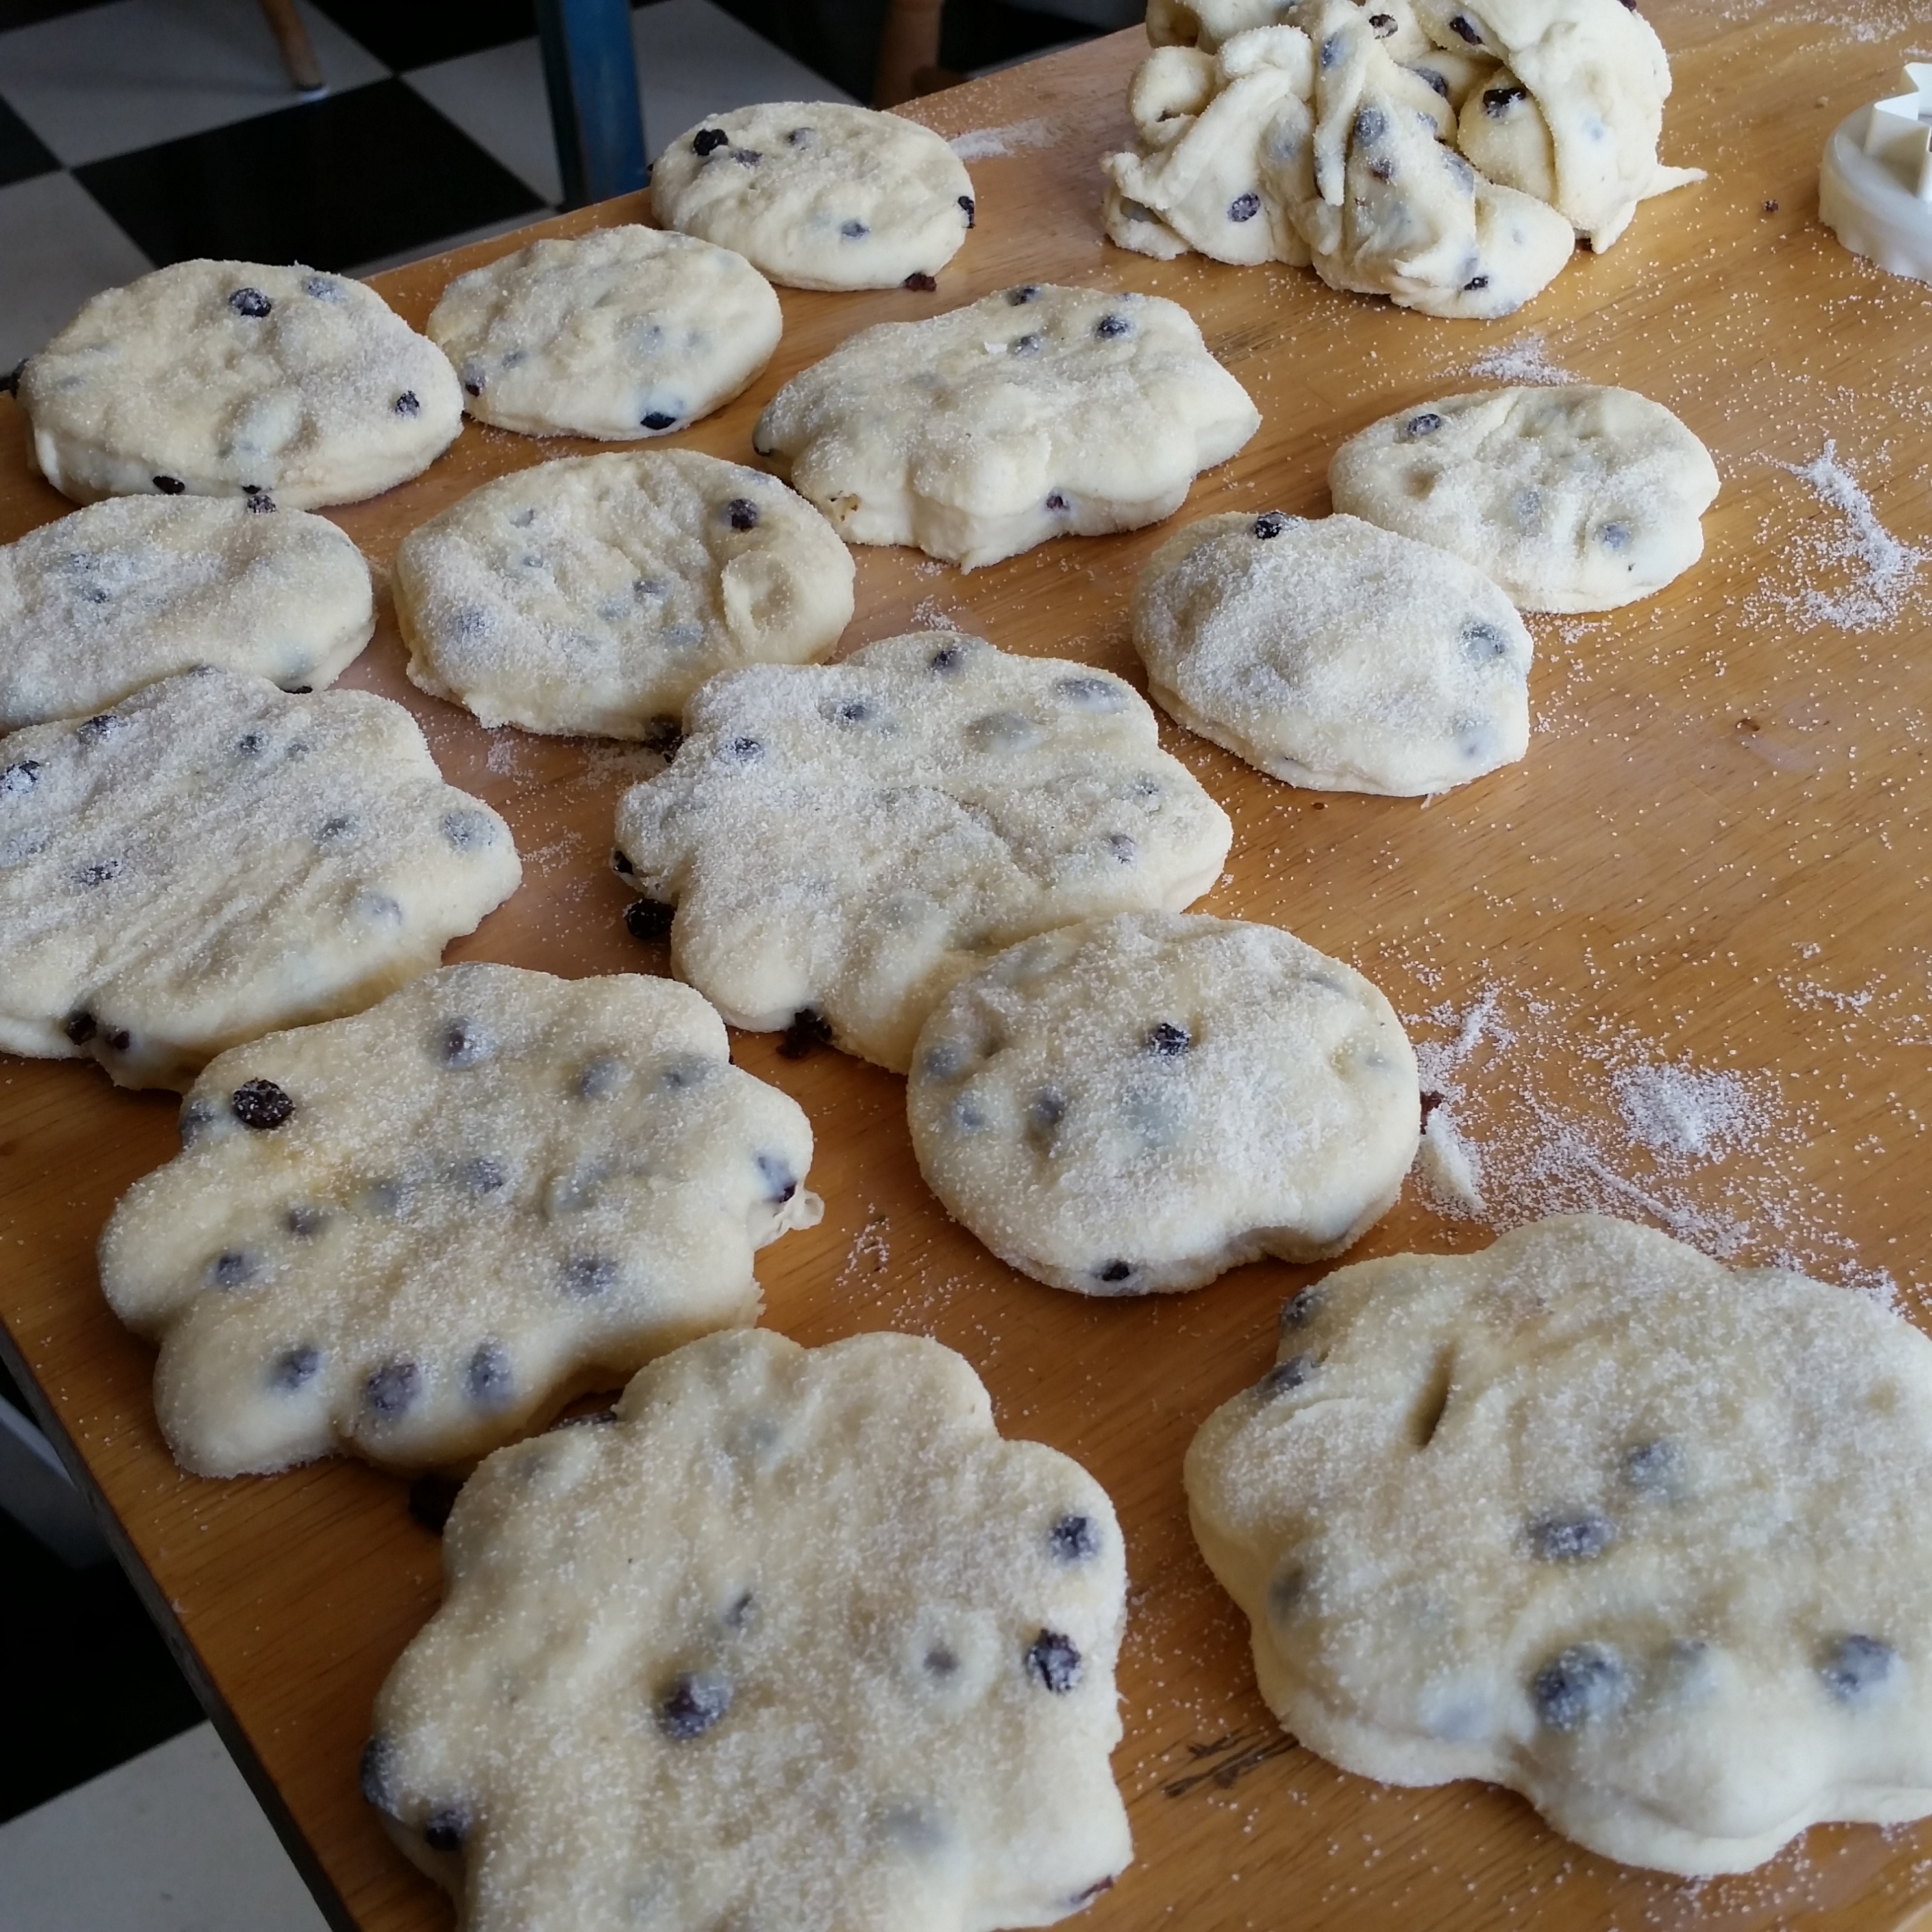
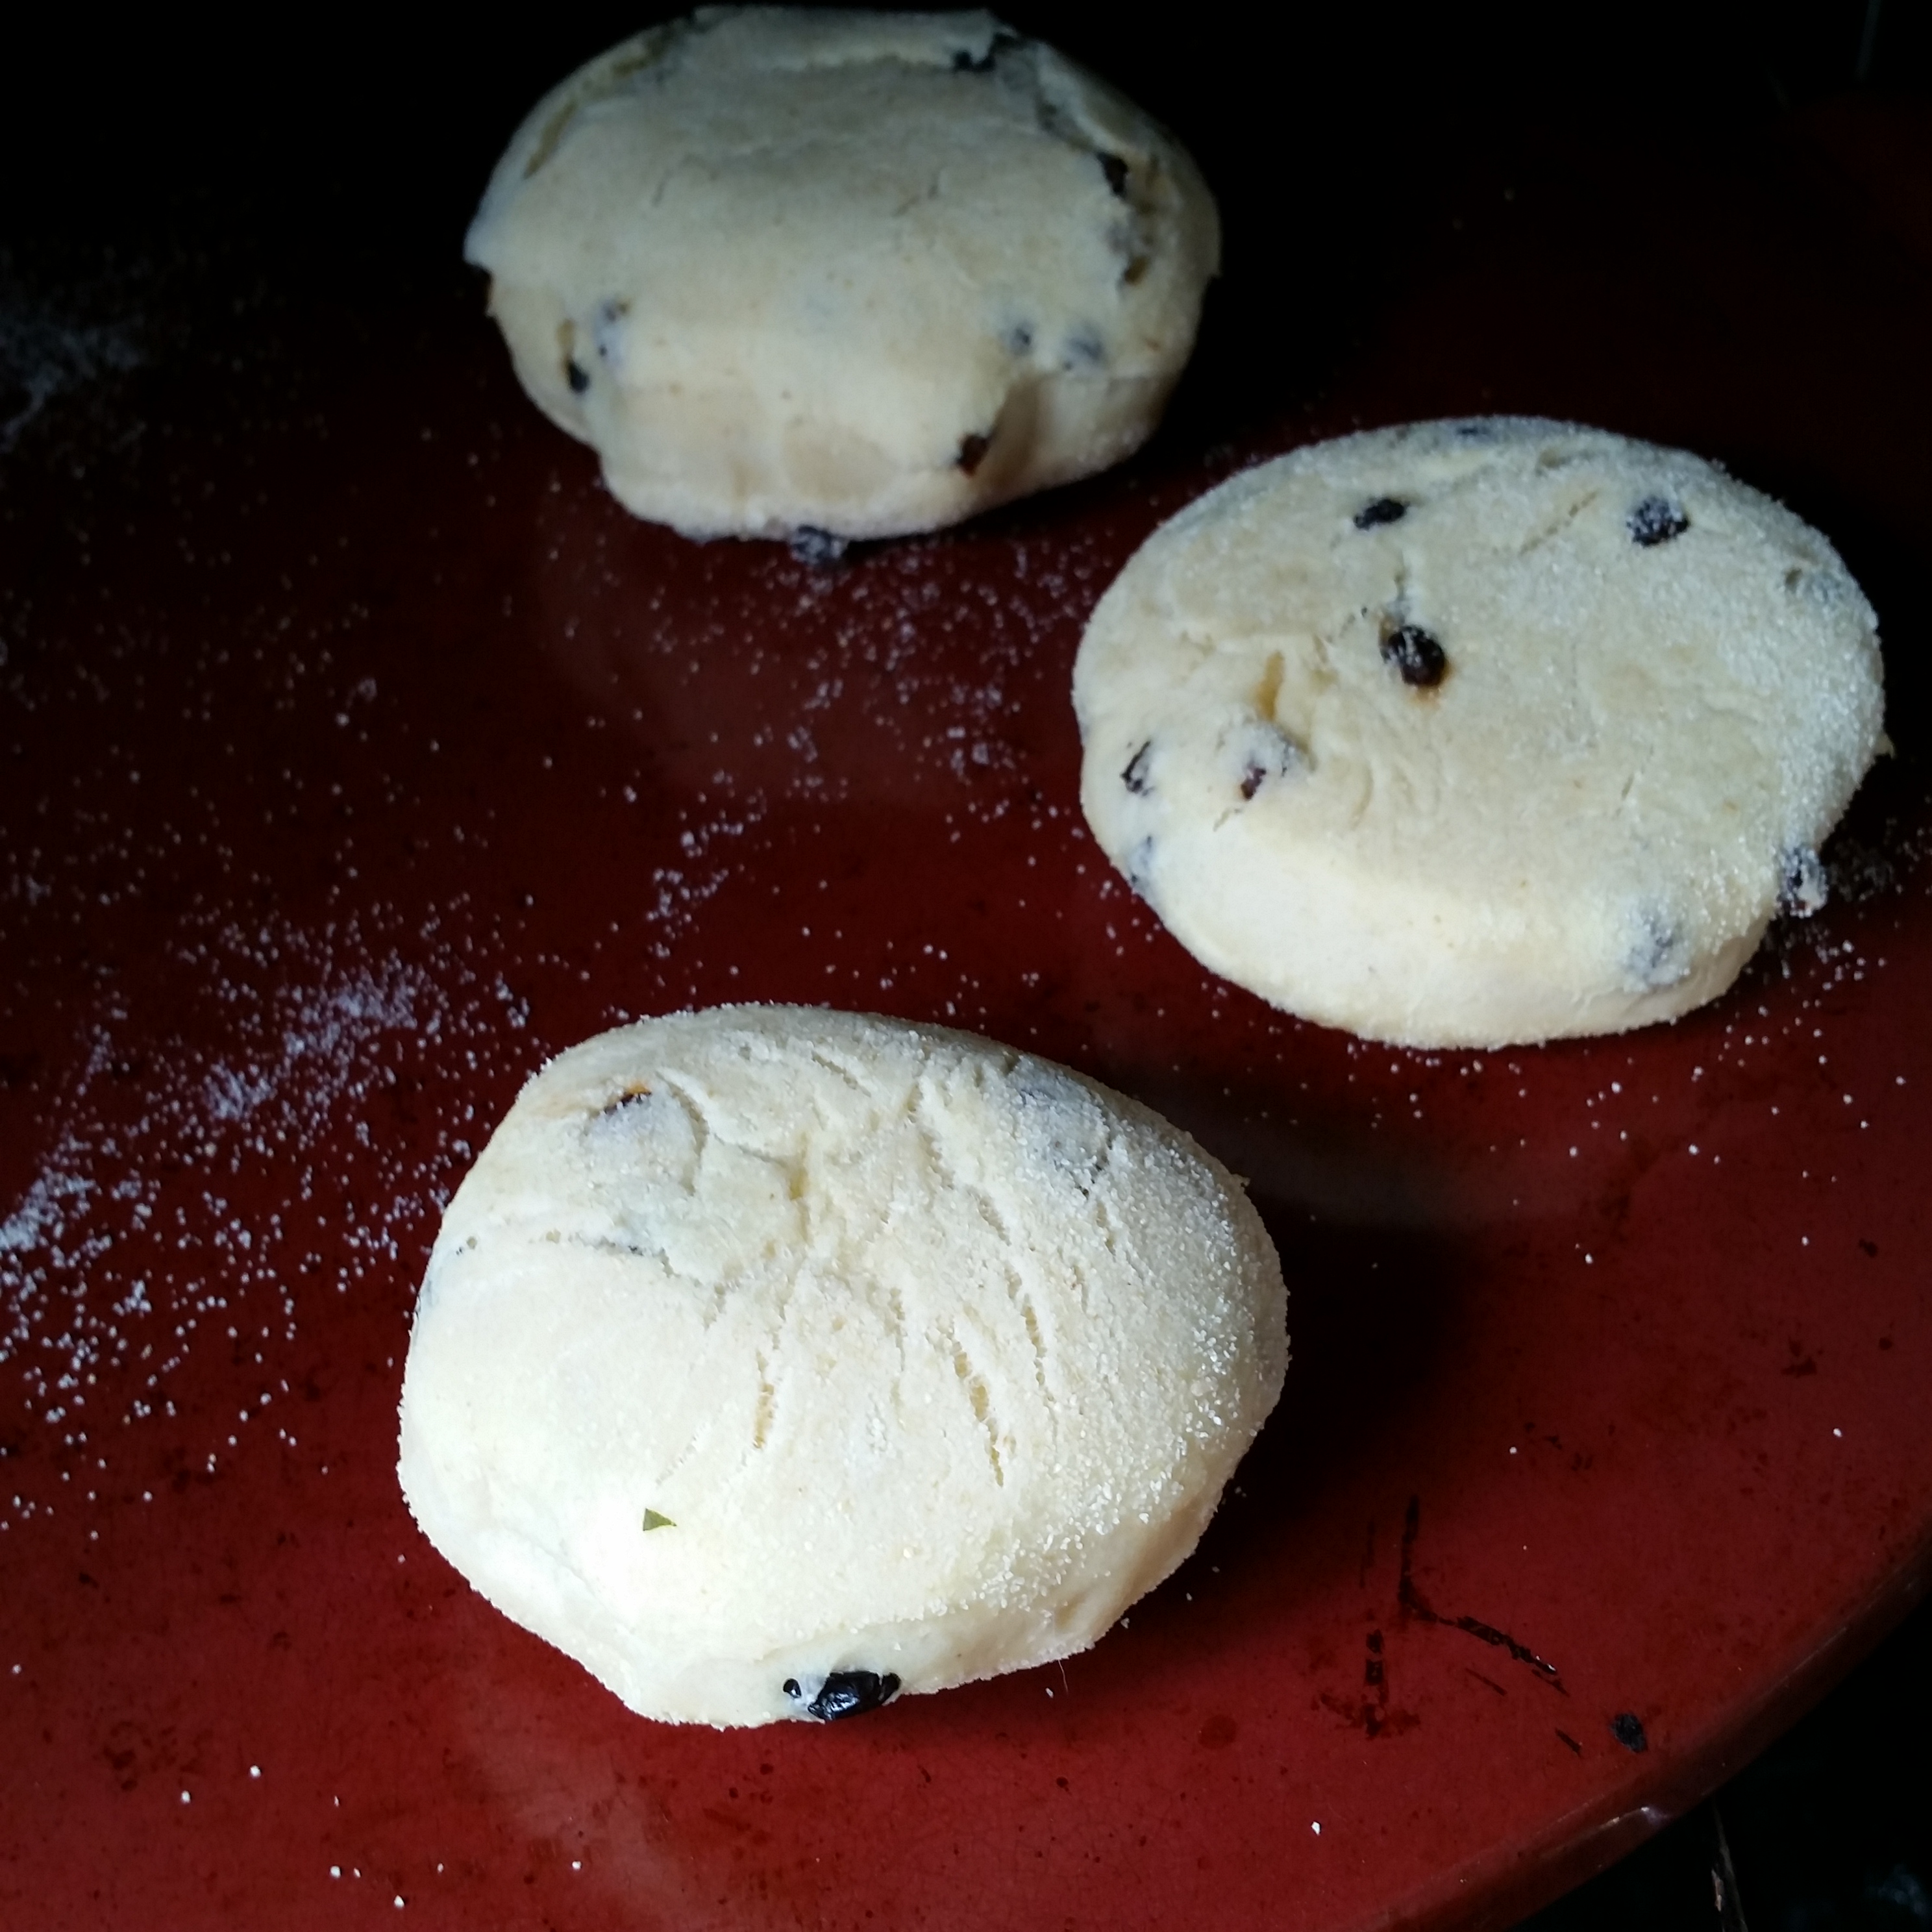
Lightly sprinkle the work surface with the semolina or cornmeal. This will prevent the soft dough from sticking and will give that distinctive grainy coating to the muffin. Gently deflate the dough and roll out to about 1.5 cm or ½ inch depth. Sprinkle the top as well to prevent the rolling pin sticking to the dough.
Another handy use for Augustines of Central preserving jar lids – an ideal sized muffin cutter.
I experimented with a couple of biscuit cutters and a preserving jar lid to cut out the muffins. I quite like the scalloped edges of the larger biscuit cutter.
All the trimmings put together and roll out again. Cover the made muffins with a cloth or if its really warm in the kitchen put them in the fridge until ready to go on the skillet or oven to avoid them getting too puffy. Beth didn’t suggest the pizza stone – it was something I thought may work as the griddle or girdle in Wales was originally stone.
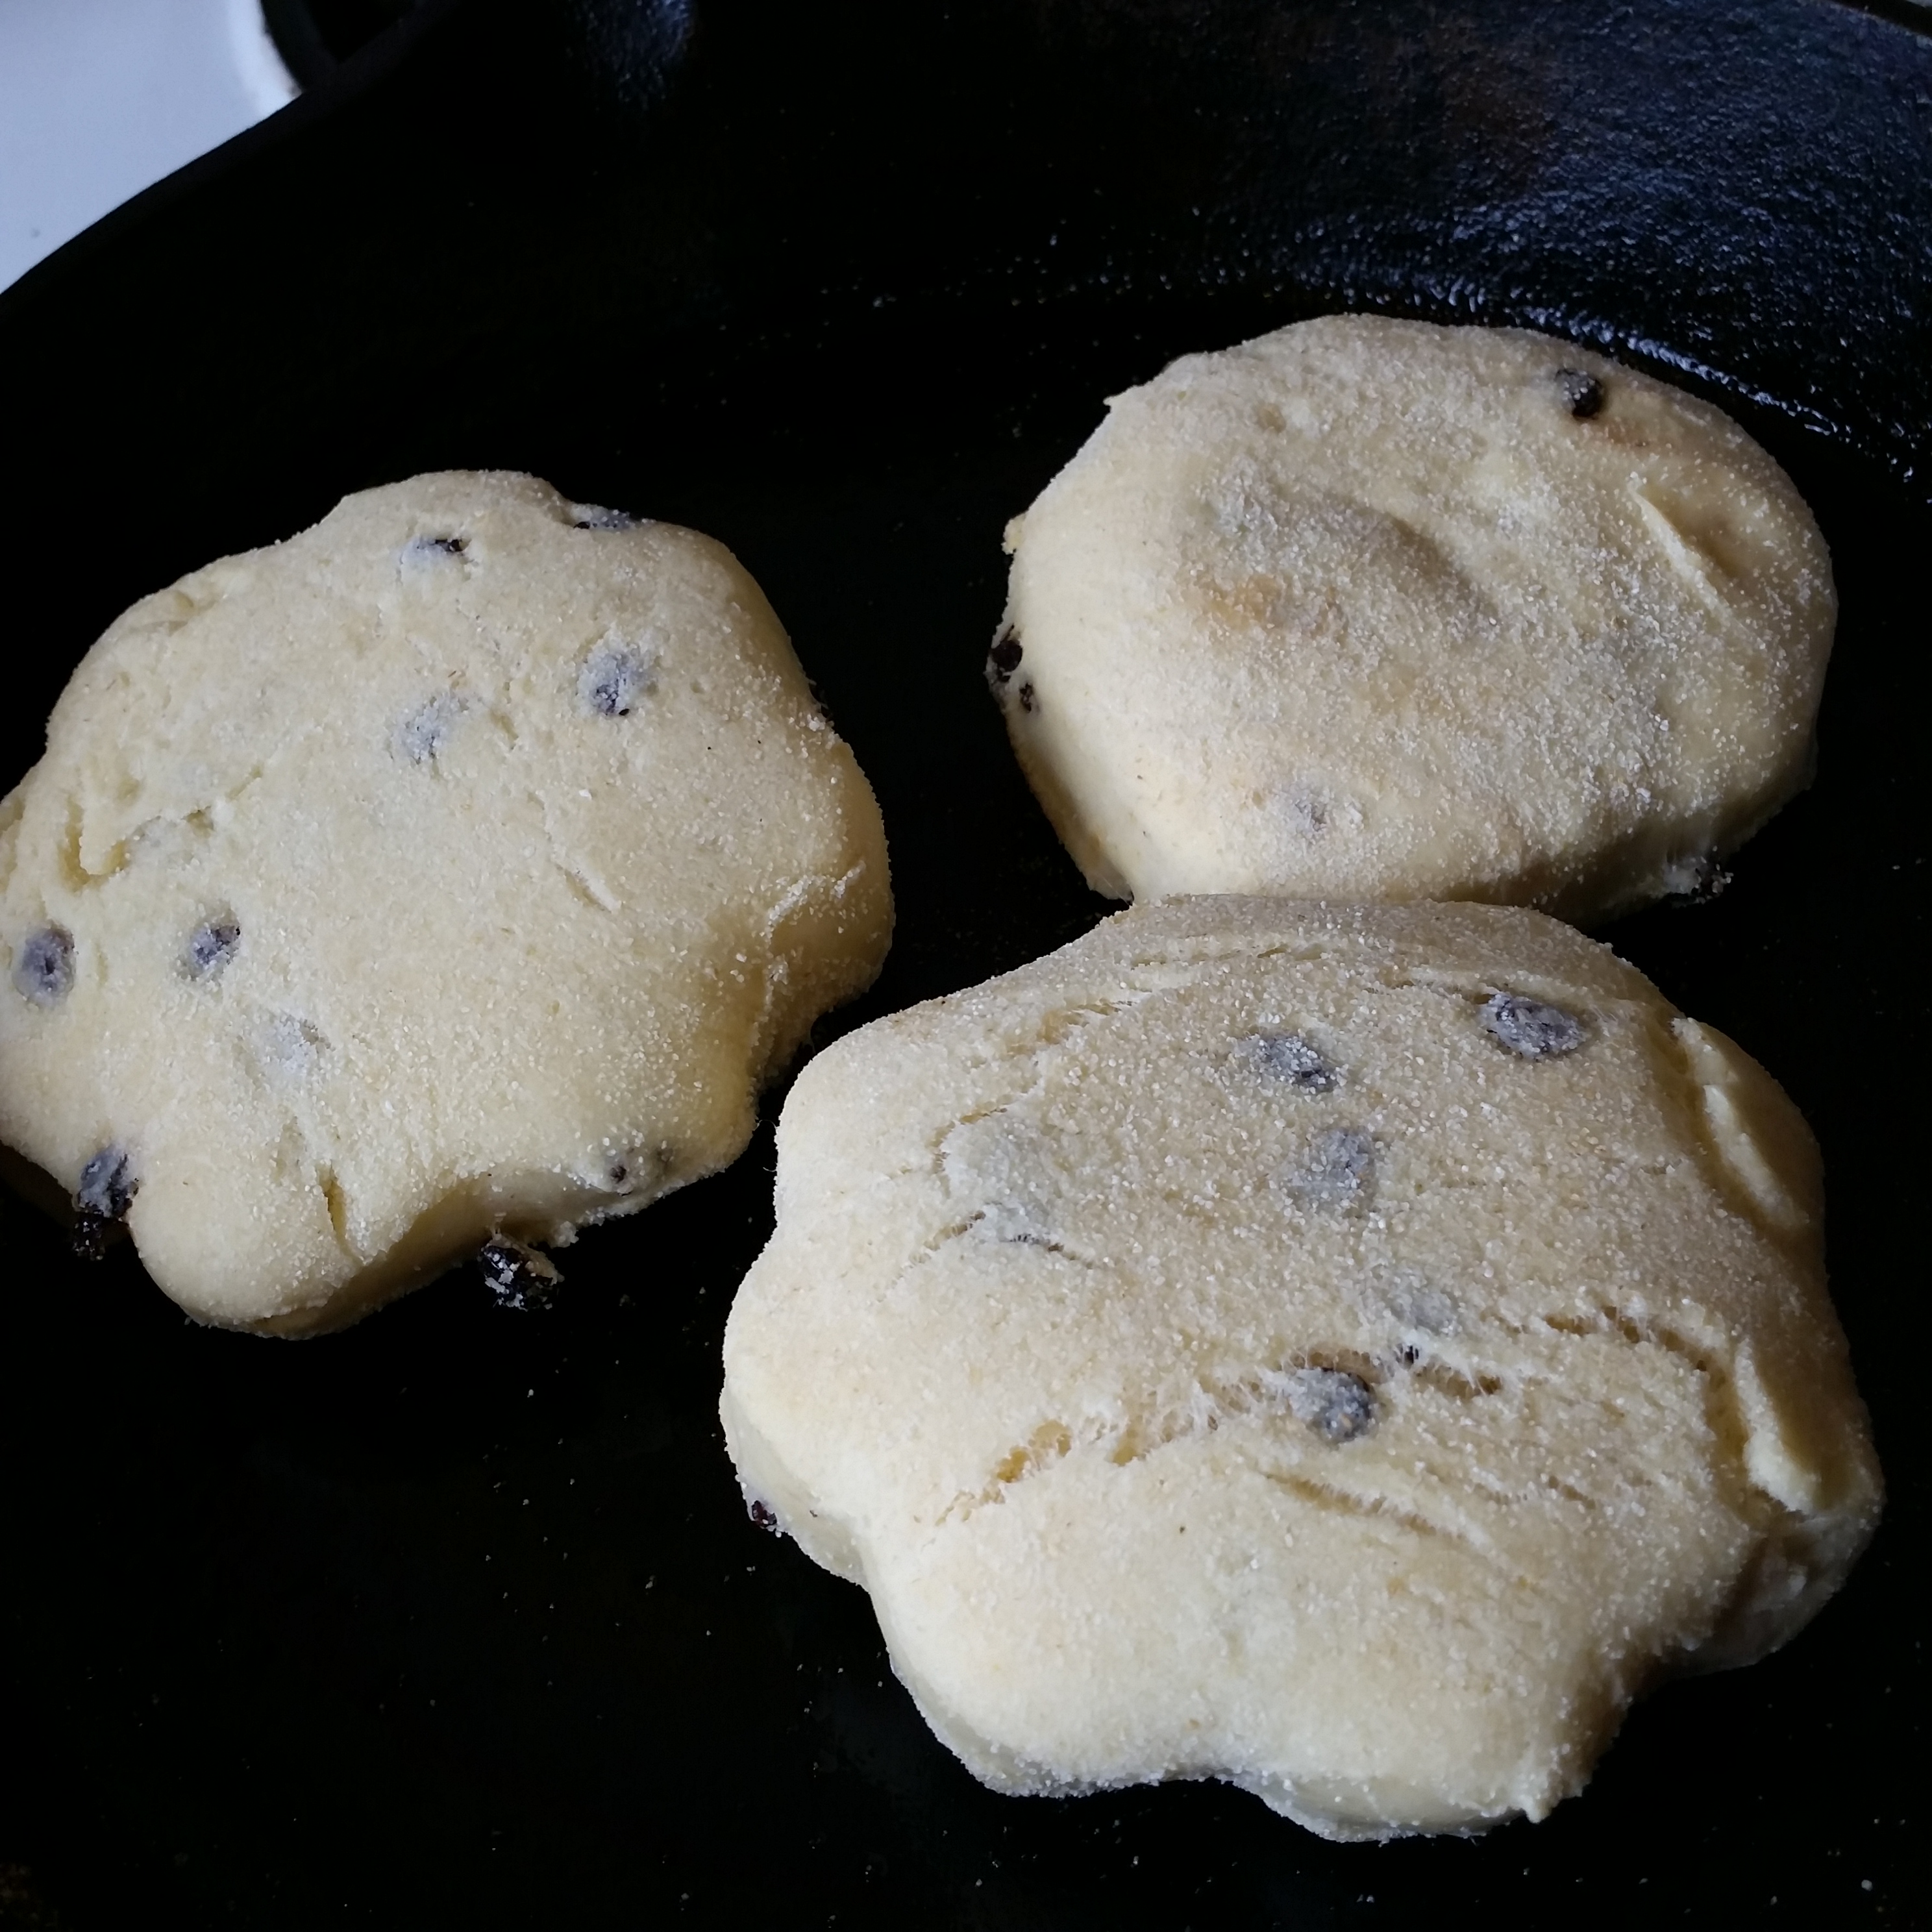
In a cast iron pan on the stove top you need to cook them for about 10 minutes each side but keep an eagle eye on them to avoid too much browning. I wanted to avoid the muffins being doughy on the inside so after the first couple on the stove top I put the rest into the oven on the pizza stone.
Muffins in the oven on my red ceramic pizza stone.
I didn’t spray the stone with oil but I did the pan where I finished them off to give them that brown crust. It may be a cheats way but I did ensure the interior of the muffin was cooked without the exterior being too crusty.
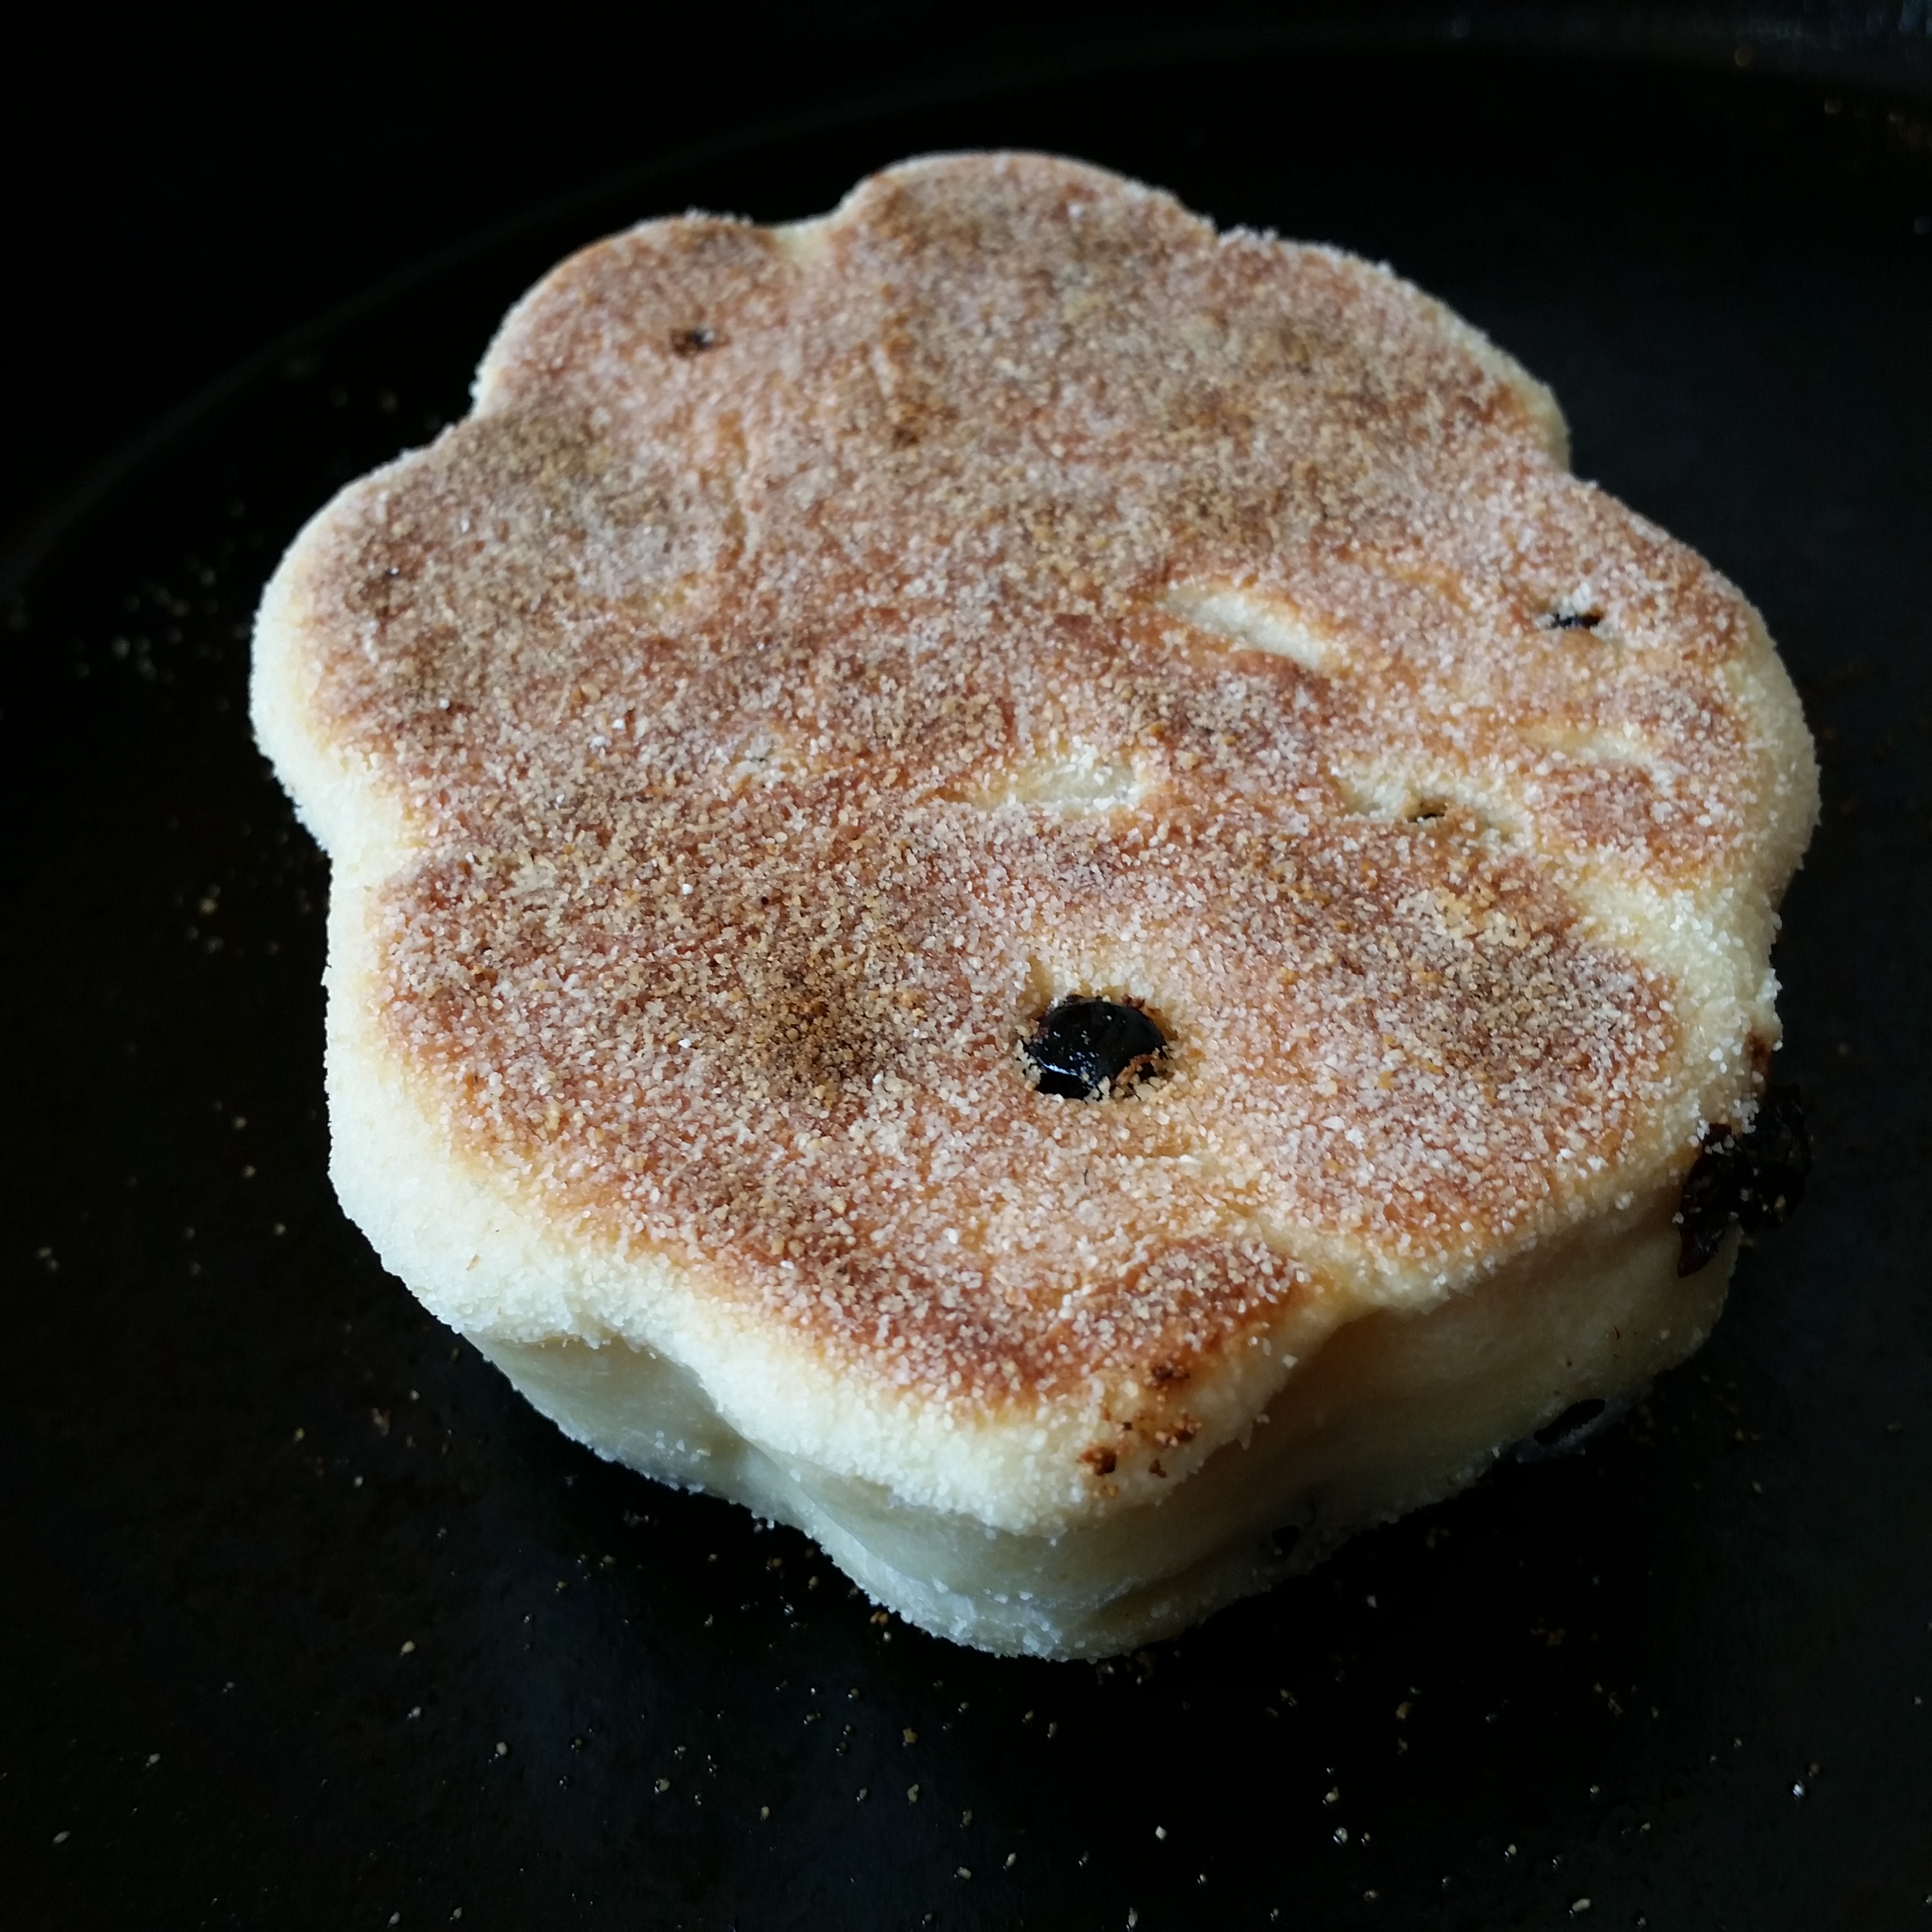
This is the first one cooked completely on the stove top. It’s a little too crusty I think.
The early American settlers didn’t have the luxury of using an oven when they began making this bread. I’m sure they got very good at ensuring the griddle was not too hot so that the muffins cooked through without burning on the outside. Today we are so often time poor, so baking that takes too long doesn’t get made. Using a pizza stone in the oven and finishing off on the top I think is the best compromise.
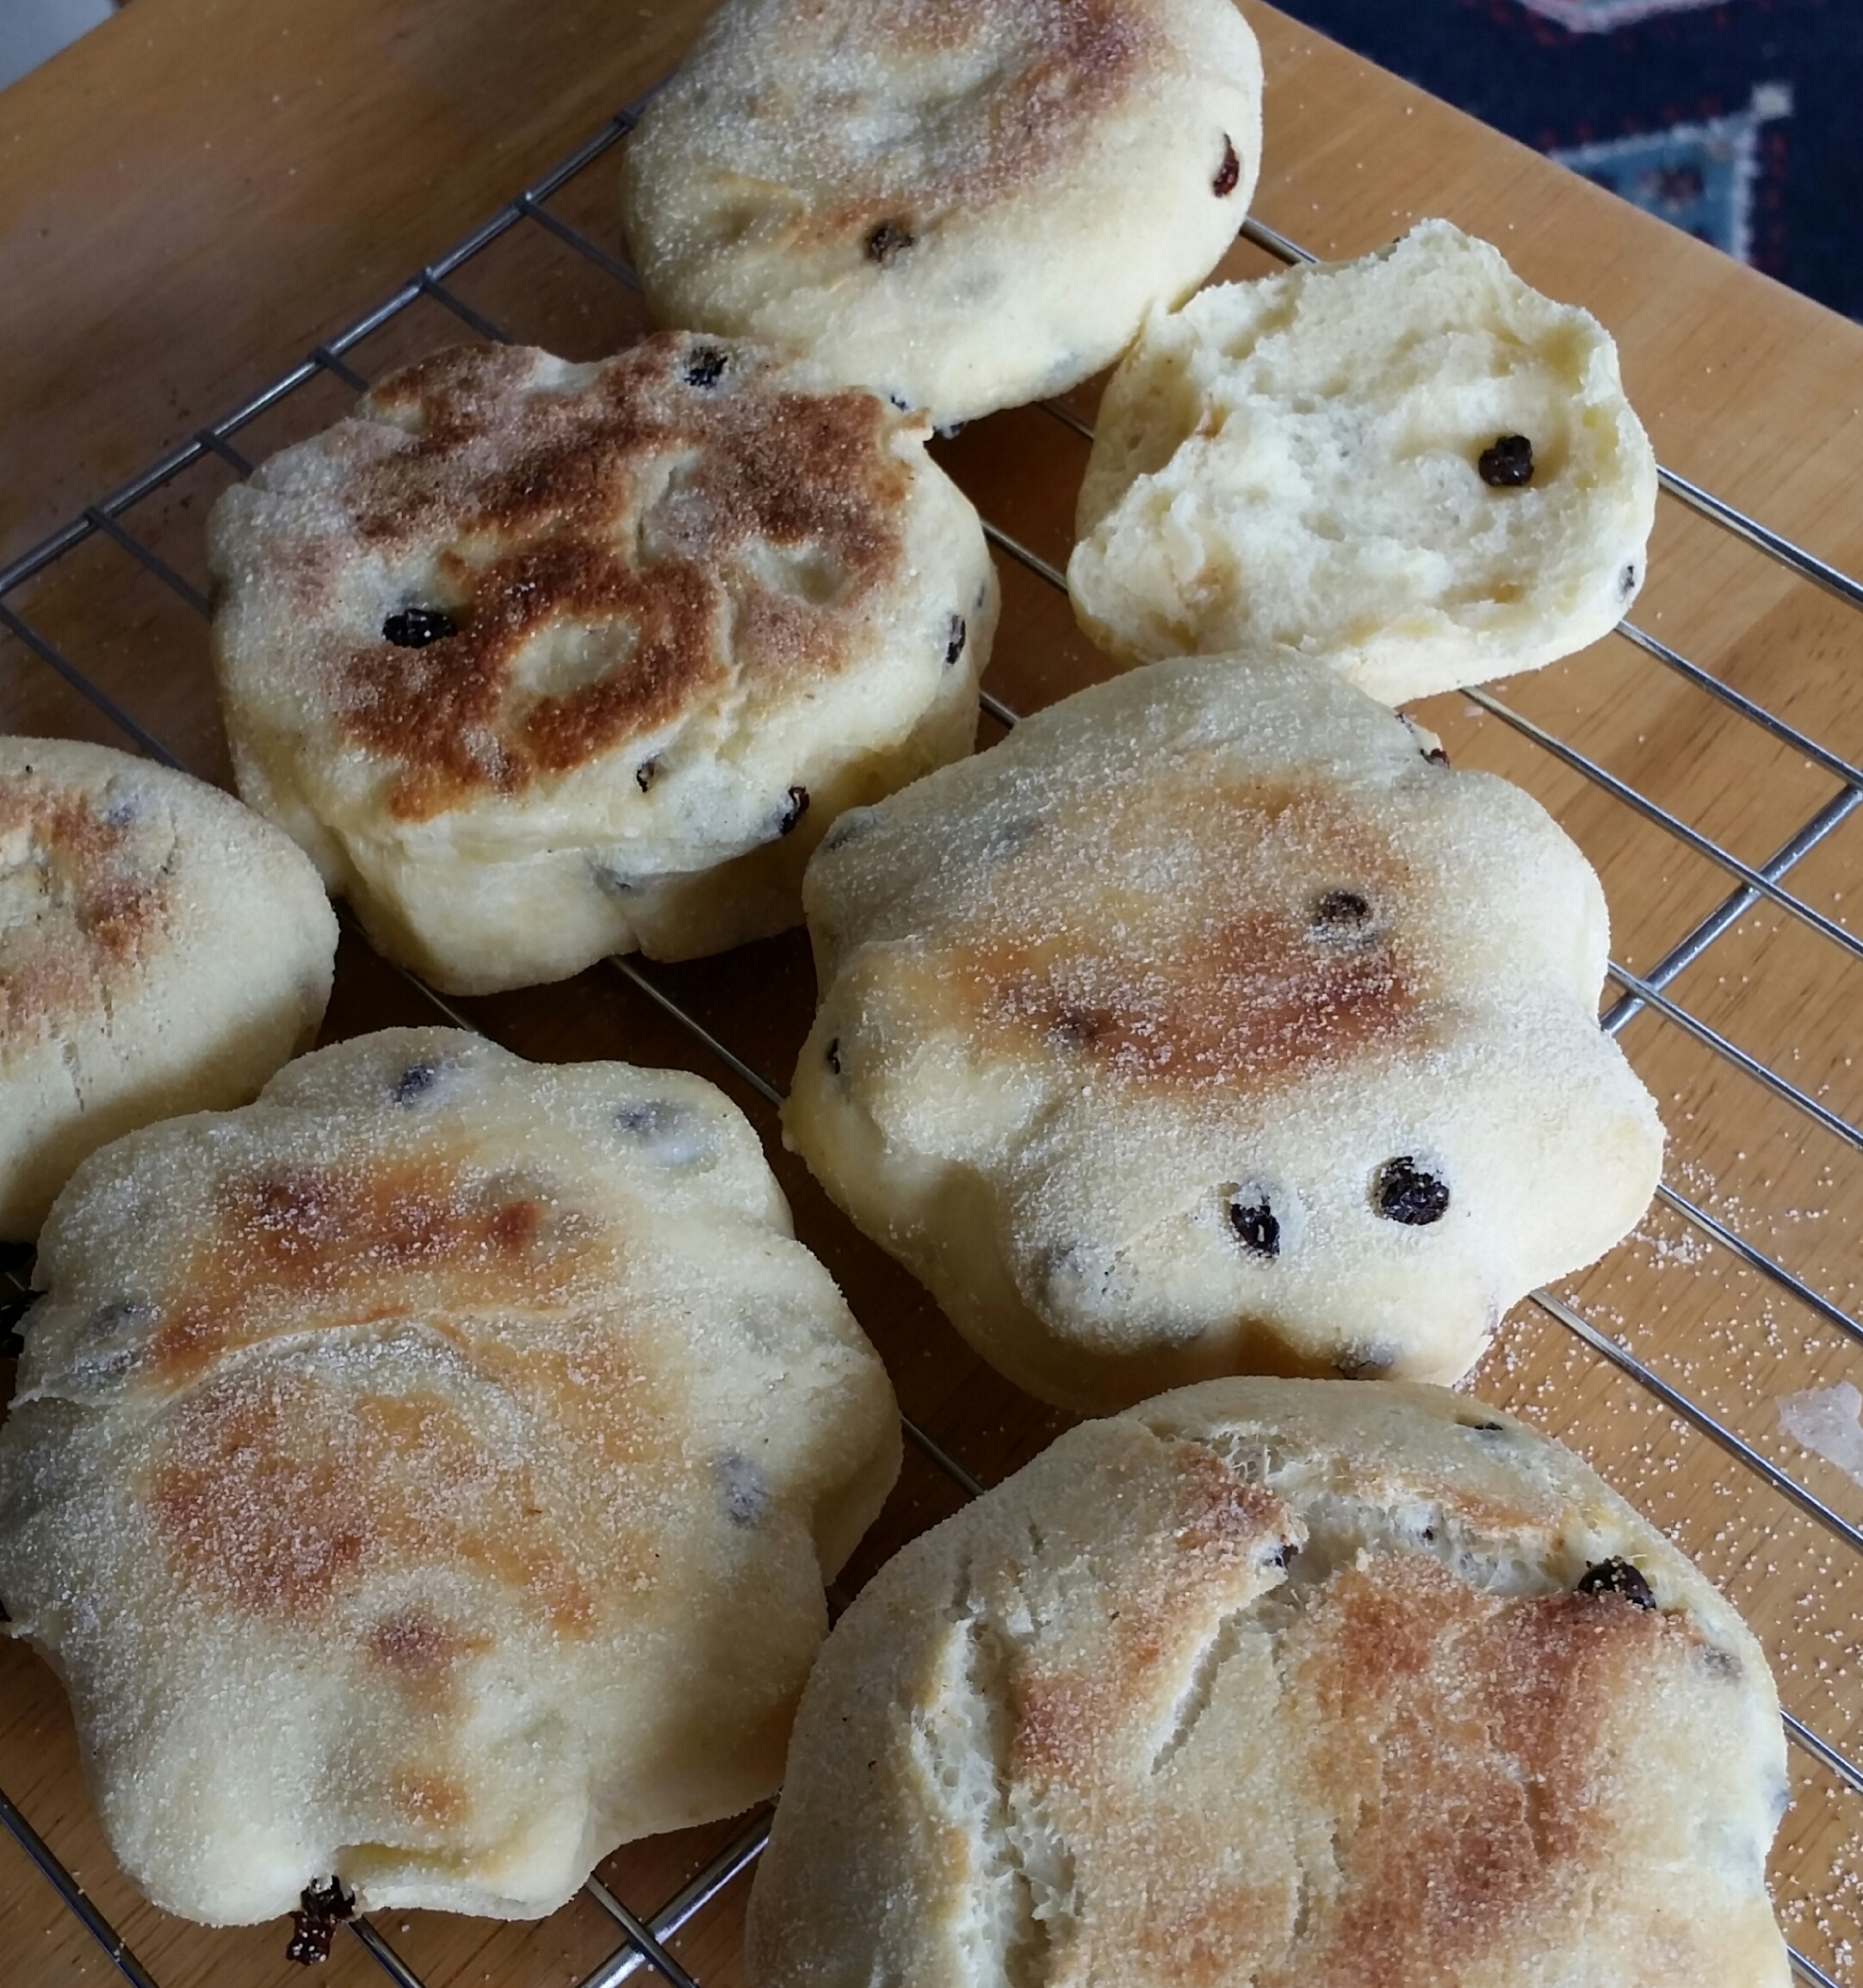
Muffins baked on a pizza stone and then browned on the stove top.
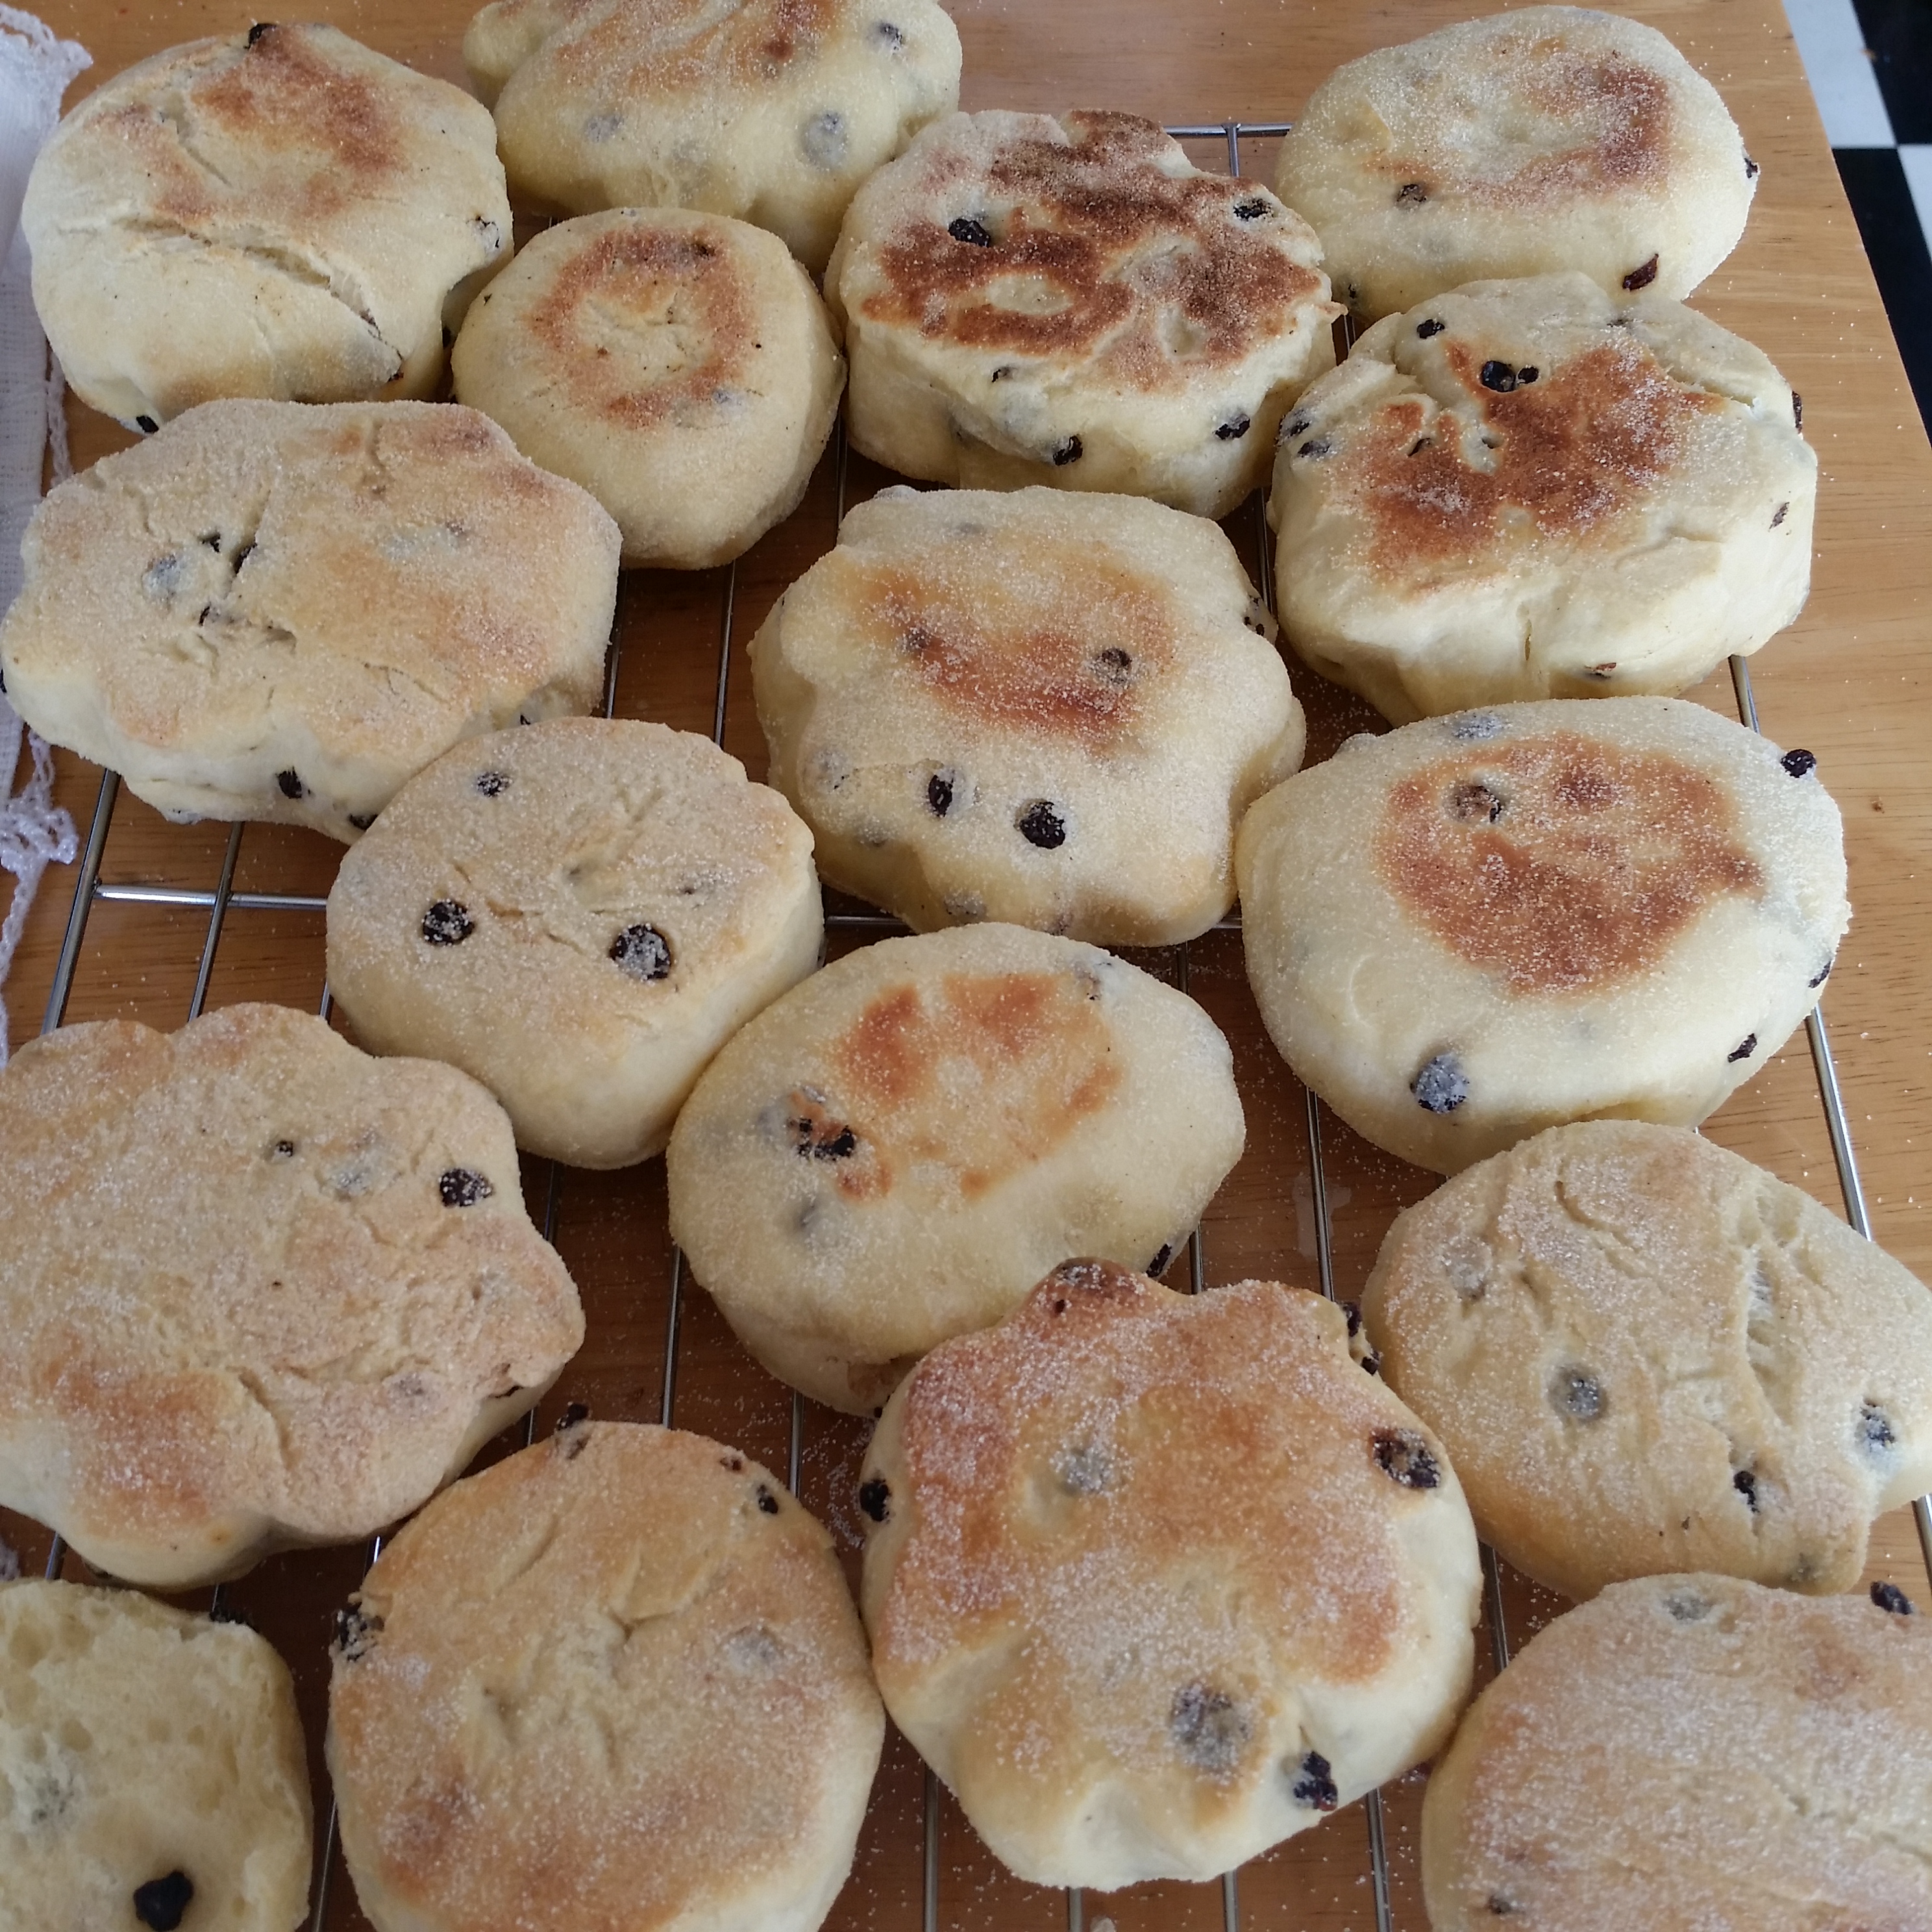
The muffins once cooked should be cooled on a wire rack before pulling apart and eating fresh or toasting.
Best served straight from the toaster and buttered. The currants are optional but having them there adds little hits of sweetness without having the bread sweet. I also served the muffin with a poached egg and it was a delicious combination.
It takes a little effort to make these muffins but I was very pleased with the final outcome. They are easy and are far better than the shop bought versions. I have enough muffins to freeze for another time or to give away as an edible gift.
I now call them Traditional Muffins not English Muffins, plus I have a feeling making these delightful breads will be an ongoing tradition in the Hayden household.
Traditional English muffins are small yeast breads; flattish circles with a gritty surface, torn apart rather than cut and usually toasted. But perhaps they should be Traditional American muffins – not English muffins.
To tear apart it’s best to first cut a small slit with a knife then use your fingers to gently tear in half. That rough surface makes craters for butter to soak in.
It’s true muffins were adapted from the United Kingdom griddle-baked breads like the crumpet and bannock, but the English muffin we recognise today was first made in the USA and exported back to Britain.
This mix makes plenty of muffins in one hit and some can be frozen for another day.
In my August posting Moofins – Nana’s Bran Muffins, I revealed today’s cake-like muffins were adapted from the original yeasted muffin cooked on the stove top. This sparked my interest to make a home made version of the Traditional English muffin and coincided with finding”The Bread Bible” by American bread baker Beth Hensperger in a second hand bookshop. I now had a good recipe to follow…
Traditional English Muffins
(Makes 12 -15, 9-10 cm or 3-4 inch muffins)
¼ cup warm water
1 tbsp active dry yeast
2 tsp of sugar (if using kefir – 1tsp if using milk)
4-4½ cups of high grade flour
2 tsp salt
1 large egg at room temperature
1¼ cups warm milk*
2 tbsp butter melted
½ cup currants (optional)
¼ cup of semolina or cornmeal for sprinkling when rolling out
*for those of you who are fermenters producing milk kefir, I replaced 1 cup of the milk with kefir just until warm and the butter melts. The idea of heating is to ensure the environment is warm for the yeast to activate quickly.
Pour the warm water into a large bowl. Sprinkle the yeast on top with sugar, stir and leave in a warm place until bubbles appear – about 10 minutes.
Get the yeast to start to react before adding flour. You can see the small bubbles appearing on the surface and this indicates activity.
Into the yeast break in the egg, add milk (or kefir), butter and yeast mixture, stir to mix. Add 2 cups of flour and 2tsp of salt (a cup at a time) and beat until creamy, for about 2 minutes.
Add all the liquid ingredients before mixing.
Beth used a whisk for this first process but I used a wooden spoon. (This part can be processed with a cake mixer).
Currants are optional but they are one of my favourite dried fruits as they add a tang as well as a sweet hit. Experiment with other spices too. I thought next time I might use dried barberries that will deliver more tang than sweet.
Add the remaining flour, half a cup at a time along with the currants (if using) and mix with a wooden spoon until a soft dough forms and takes all the flour around the sides of the bowl into the dough ball.
The dough will be rather sticky but at this point just add a tablespoon of flour at a time. Remember the softer the dough, the lighter the muffin.
Turn the dough out onto a lightly floured surface and knead until smooth and springy – at least 3 minutes and its best to knead any bread for 10 minutes. Keep adding the flour to stop the dough from being too sticky to handle, but the mix should still be nice and soft so just add just enough flour…the end dough should have some spring back. (If using a cake mixer switch to a dough attachment to knead for 10 minutes making sure the dough springs back when pressed – you can add flour as it mixes to get the right consistency. )
When a dough has been kneaded enough it has a silken appearance.
Wash clean the bowl and add some oil in the base. Turn the dough once over to cover with oil and cover the bowl with a plate for a tea towel and place in a warm spot for the dough to double in size. This may take 1½ hours.
You can see here the work the yeast has done rising the dough – before and after shot.
Once the dough has risen, first step is to preheat an electric frypan or the oven with a pizza stone to 180°C. If you want to be authentic then heat a griddle or cast iron pan on the stove top to a medium heat. The pan will be hot enough when you land a drop of water in the pan and it sizzles and dances across the surface.
Lightly sprinkle the work surface with the semolina or cornmeal. This will prevent the soft dough from sticking and will give that distinctive grainy coating to the muffin. Gently deflate the dough and roll out to about 1.5 cm or ½ inch depth. Sprinkle the top as well to prevent the rolling pin sticking to the dough.
Another handy use for Augustines of Central preserving jar lids – an ideal sized muffin cutter.
I experimented with a couple of biscuit cutters and a preserving jar lid to cut out the muffins. I quite like the scalloped edges of the larger biscuit cutter.
All the trimmings put together and roll out again. Cover the made muffins with a cloth or if its really warm in the kitchen put them in the fridge until ready to go on the skillet or oven to avoid them getting too puffy. Beth didn’t suggest the pizza stone – it was something I thought may work as the griddle or girdle in Wales was originally stone.
In a cast iron pan on the stove top you need to cook them for about 10 minutes each side but keep an eagle eye on them to avoid too much browning. I wanted to avoid the muffins being doughy on the inside so after the first couple on the stove top I put the rest into the oven on the pizza stone.
Muffins in the oven on my red ceramic pizza stone.
I didn’t spray the stone with oil but I did the pan where I finished them off to give them that brown crust. It may be a cheats way but I did ensure the interior of the muffin was cooked without the exterior being too crusty.
This is the first one cooked completely on the stove top. It’s a little too crusty I think.
The early American settlers didn’t have the luxury of using an oven when they began making this bread. I’m sure they got very good at ensuring the griddle was not too hot so that the muffins cooked through without burning on the outside. Today we are so often time poor, so baking that takes too long doesn’t get made. Using a pizza stone in the oven and finishing off on the top I think is the best compromise.
Muffins baked on a pizza stone and then browned on the stove top.
The muffins once cooked should be cooled on a wire rack before pulling apart and eating fresh or toasting.
Best served straight from the toaster and buttered. The currants are optional but having them there adds little hits of sweetness without having the bread sweet. I also served the muffin with a poached egg and it was a delicious combination.
It takes a little effort to make these muffins but I was very pleased with the final outcome. They are easy and are far better than the shop bought versions. I have enough muffins to freeze for another time or to give away as an edible gift.
I now call them Traditional Muffins not English Muffins, plus I have a feeling making these delightful breads will be an ongoing tradition in the Hayden household.